·7분 읽음
Tutorial: How to use BOB Gateway

Pankaj Dalmia
Community
A step by step guide to Bitcoin and EVM swaps on BOB Gateway
Swap between native Bitcoin, USDT, USDC, wrapped Bitcoin versions, tokenised gold and more on multiple chains, in a single transaction. Powered by Bitcoin intents. Built by BOB.
To learn more about the the best swaps engine for native BTC, check out What is BOB Gateway. To start swapping, visit app.gobob.xyz.
Before you start
What you can swap
- Chains with live Bitcoin routes: Ethereum, Base, BSC, Arbitrum, Avalanche, Unichain, HyperEVM and Tron.
- Assets: USDT, USDC, native gas assets (ETH, BNB, AVAX), wrapped Bitcoin (WBTC, cbBTC, BTCB), tokenised gold (XAUt0) and EURC. Availability varies by chain - the token picker shows exactly what's live on the route you've selected.
We are constantly adding new assets, chains and routes to BOB Gateway. Check out BOB Gateway routes for the most up-to-date information.
Wallets
- EVM side: 500+ wallets through Reown AppKit, including MetaMask, OKX, Rabby, Coinbase Wallet and Binance Web3 Wallet.
- Bitcoin side: all major Bitcoin wallets like Xverse, Unisat, OKX, Leather, Bitget, Binance Web3 Wallet and Phantom.
How long it takes
Bitcoin block confirmations set the pace. Most orders complete in about 10 minutes, but can be faster or slower depending on BTC block times. Orders that can't be filled are refunded, not lost. All orders refund to your connected EVM address.
1. EVM → BTC: Swap other tokens for native Bitcoin
Step 1 - Connect your wallet
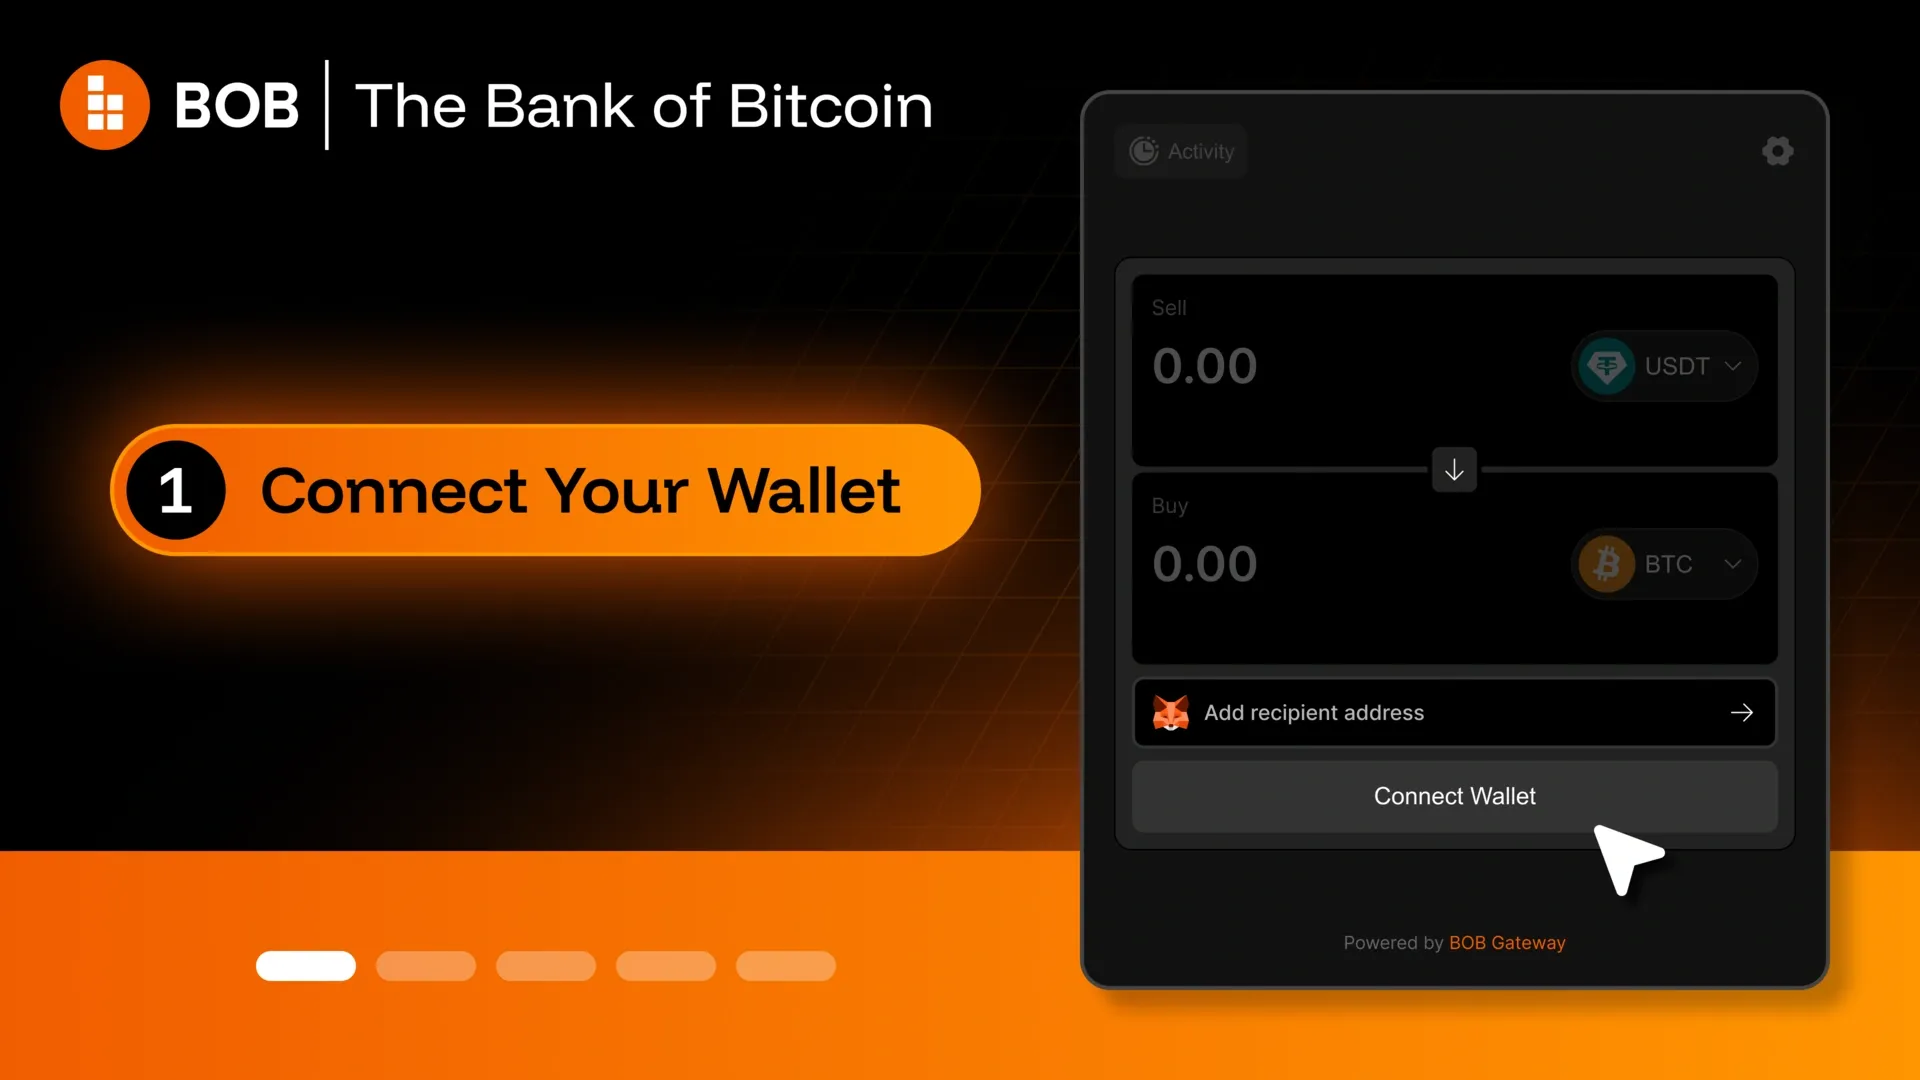
Connect any of 500+ supported EVM wallets.
A Bitcoin wallet connection is optional here. If you have one, connect it and Gateway fills in your receiving address automatically. If you don't, just paste the Bitcoin address you want the BTC sent to - every standard Bitcoin address type is accepted (Legacy, SegWit, Native SegWit and Taproot).
It doesn't strictly have to be a Bitcoin browser wallet. A hardware wallet address (Ledger, Trezor) works just as well, as does a centralised exchange (CEX) deposit address.
Step 2 - Set up the Swap
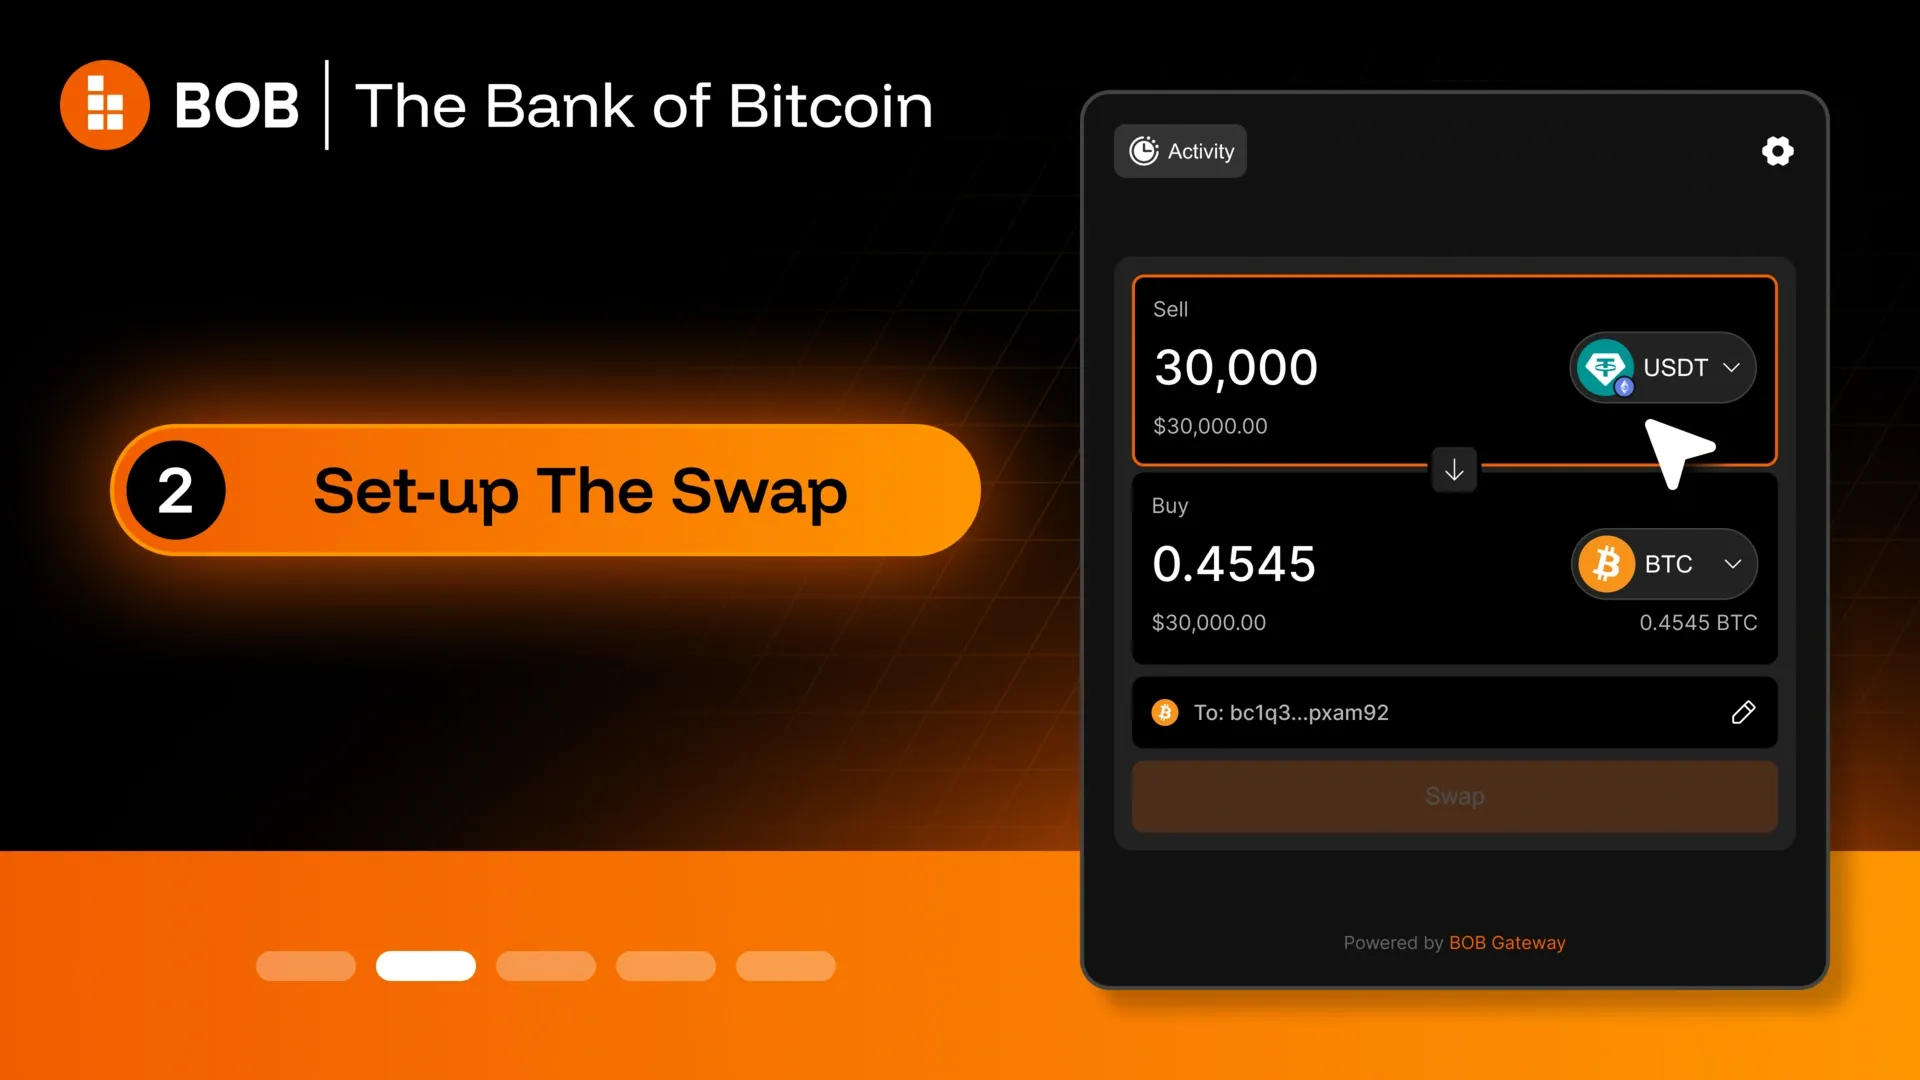
Pick what you want to swap and the chain it's on. Gateway covers 12 chains and assets including USDT, USDC, wrapped Bitcoin versions (cbBTC, WBTC, BTCB) and tokenised gold (XAUt0 and PAXG).
Step 3 - Review and swap
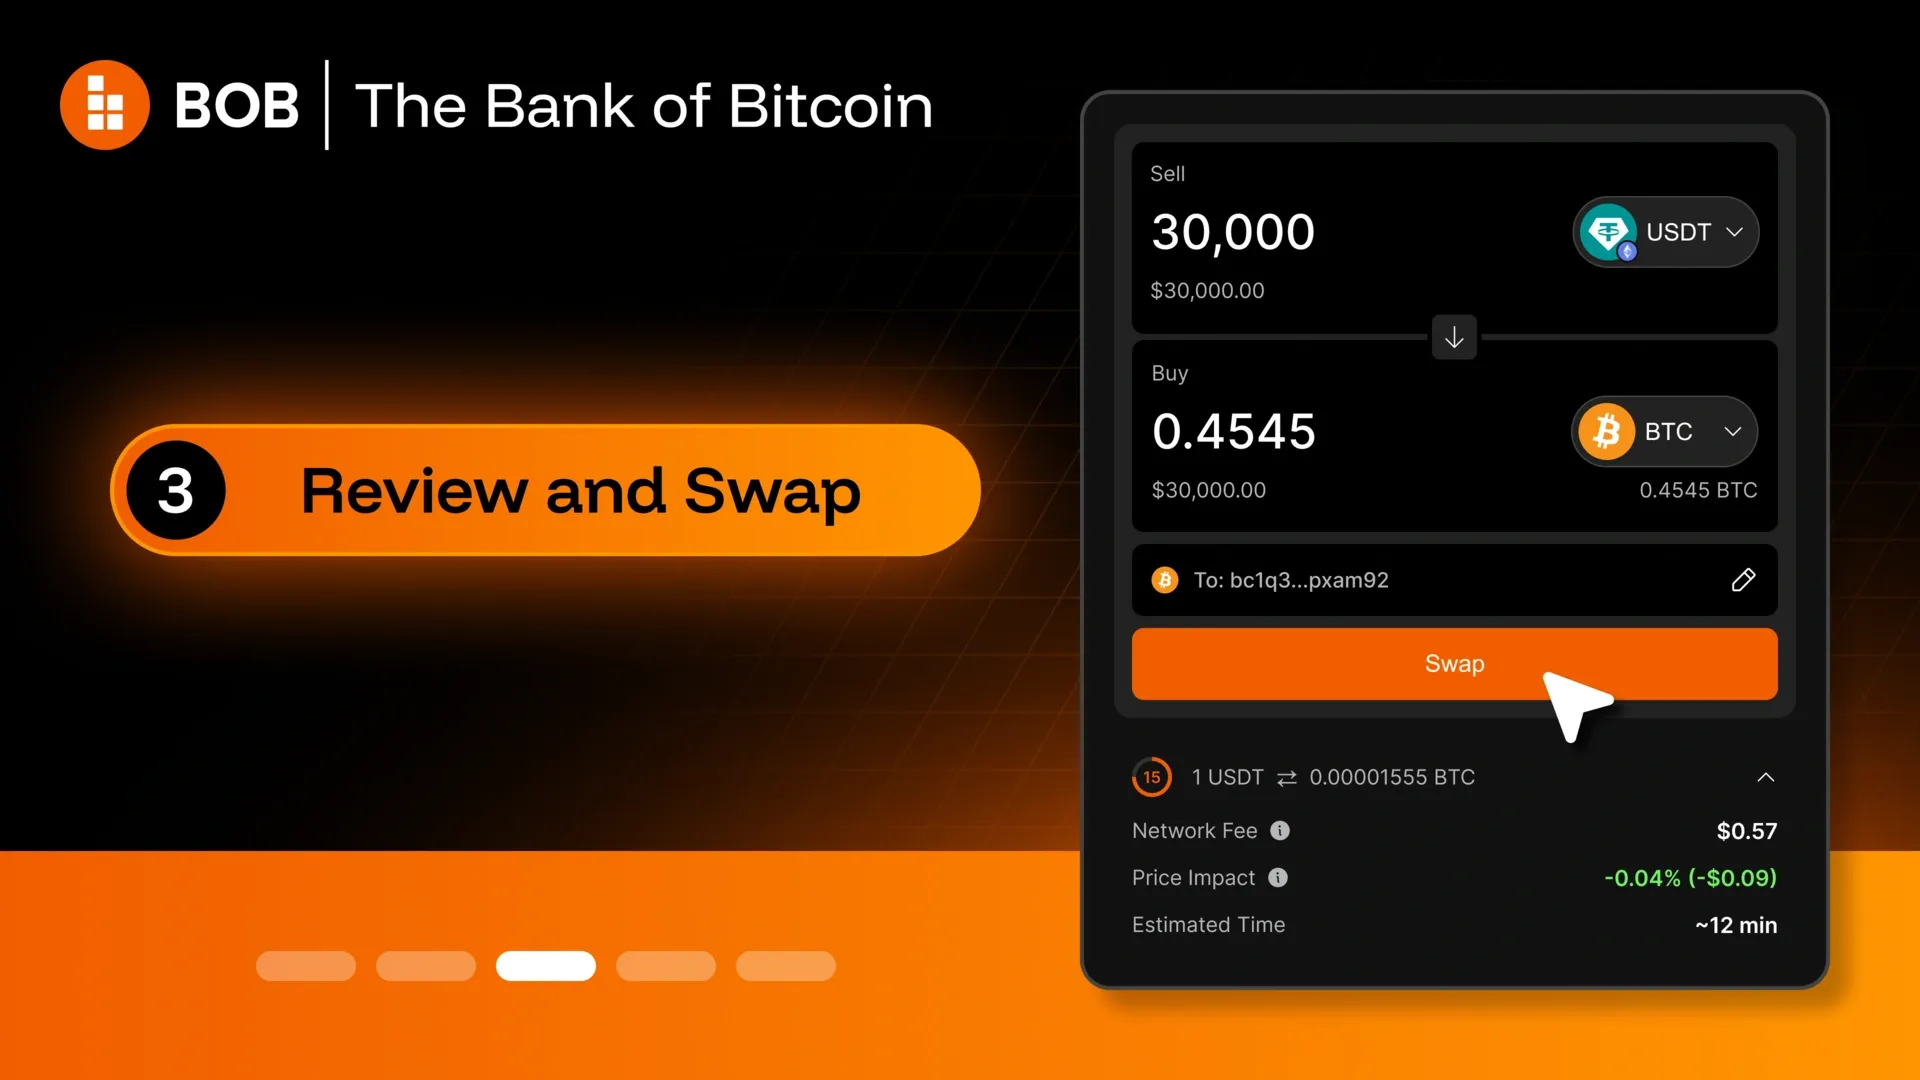
Enter the amount and confirm the recipient Bitcoin address. Check the quote - output amount, fees and estimated time are all shown before you commit. Then sign the approval and the swap transaction [two separate signatures] in your wallet.
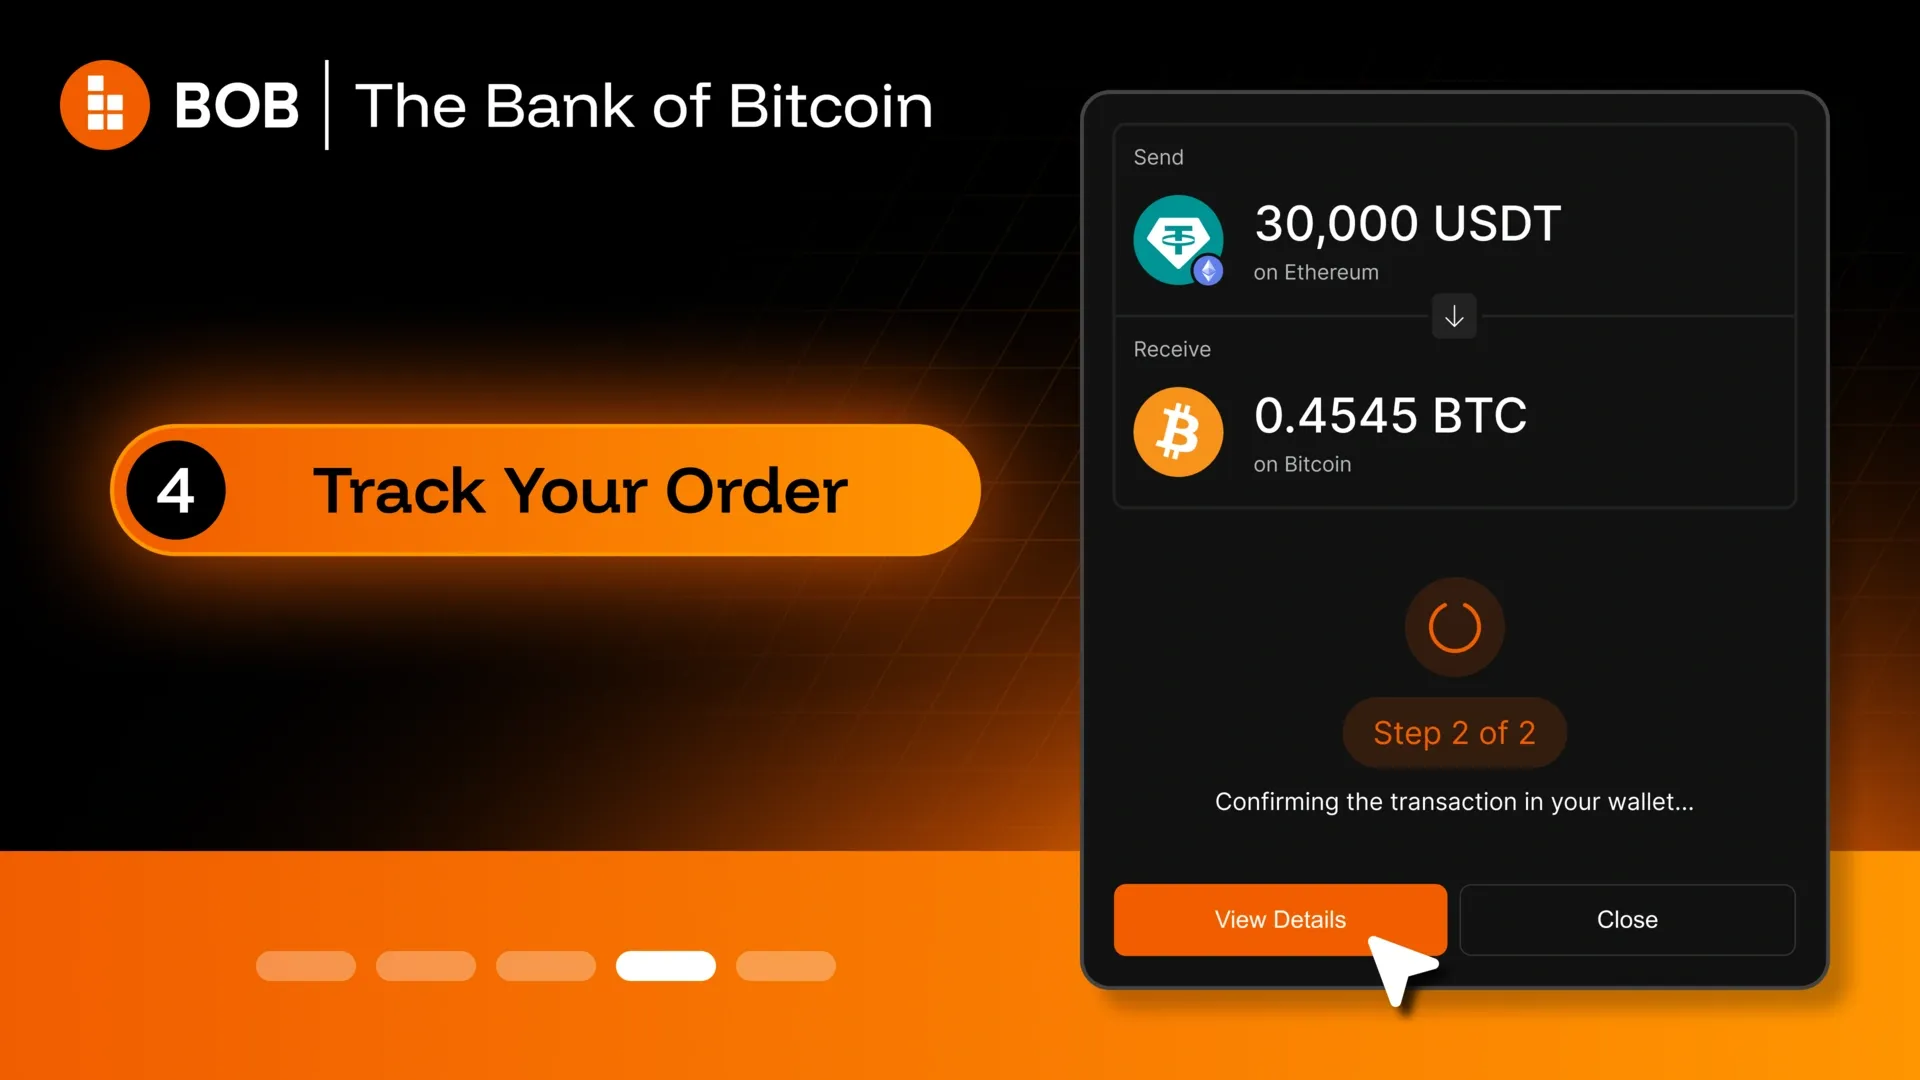
Step 4 - Track your order
Open the wallet modal at the top right to follow your order's progress and find its Order ID. For a detailed view, look the Order ID up in the Gateway Explorer - it shows live status, amounts and transaction hashes on both sides, and the link is shareable.
Step 5 - Receive your BTC
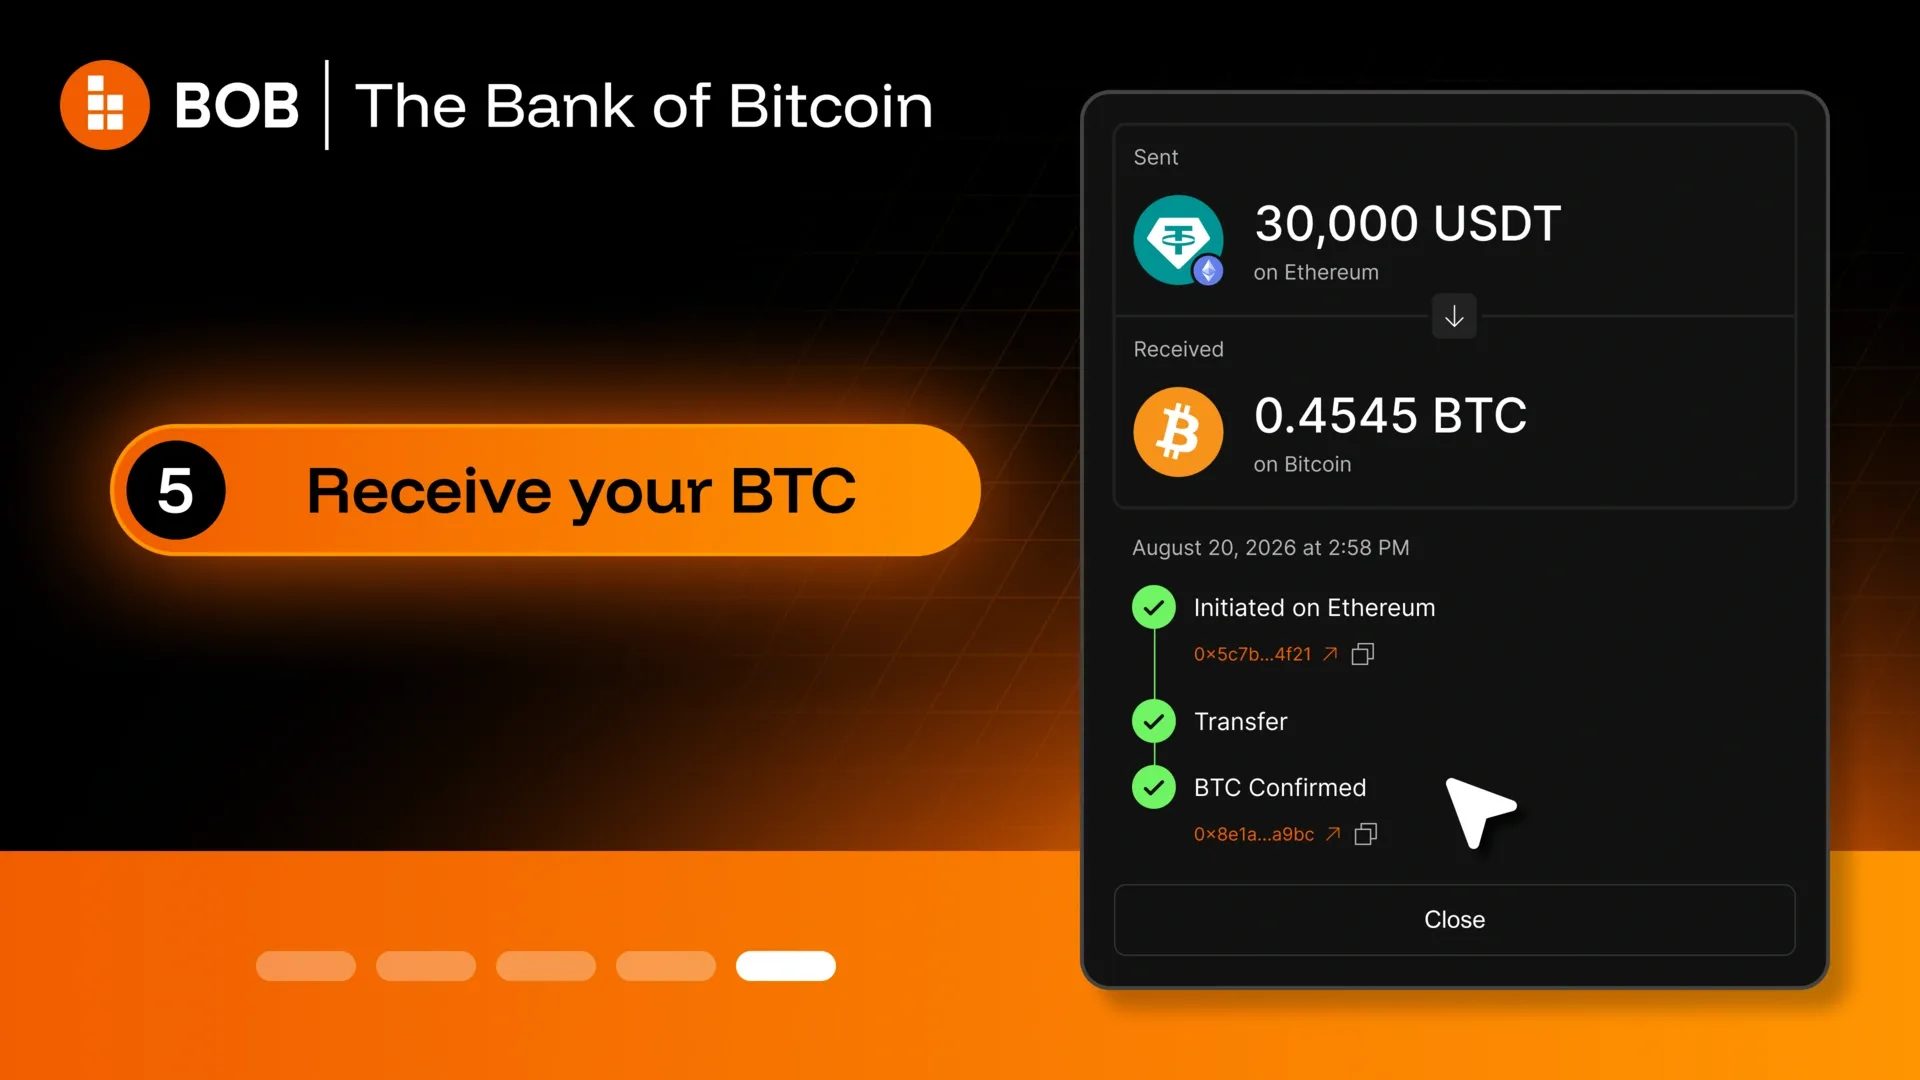
Once the swap settles, the BTC lands at your address. Most orders complete in about 10 minutes, but can be faster or slower depending on BTC block times.
2. BTC → EVM: Swap native Bitcoin for other tokens
There are two ways to do this, and the right one depends on where your Bitcoin is.
| Where your BTC is | What you connect | |
|---|---|---|
| 2a. With a Bitcoin wallet connection | Self-custody wallet | Bitcoin wallet + EVM wallet |
| 2b. Without a Bitcoin wallet connection (QR Swaps) | An exchange, Ledger, Trezor or a wallet you'd rather not connect | EVM wallet only |
If your BTC sits in a self-custody wallet, use 2a as it's the smoother path. If your BTC is on an exchange, 2b is for you.
2a. With a Bitcoin wallet connected
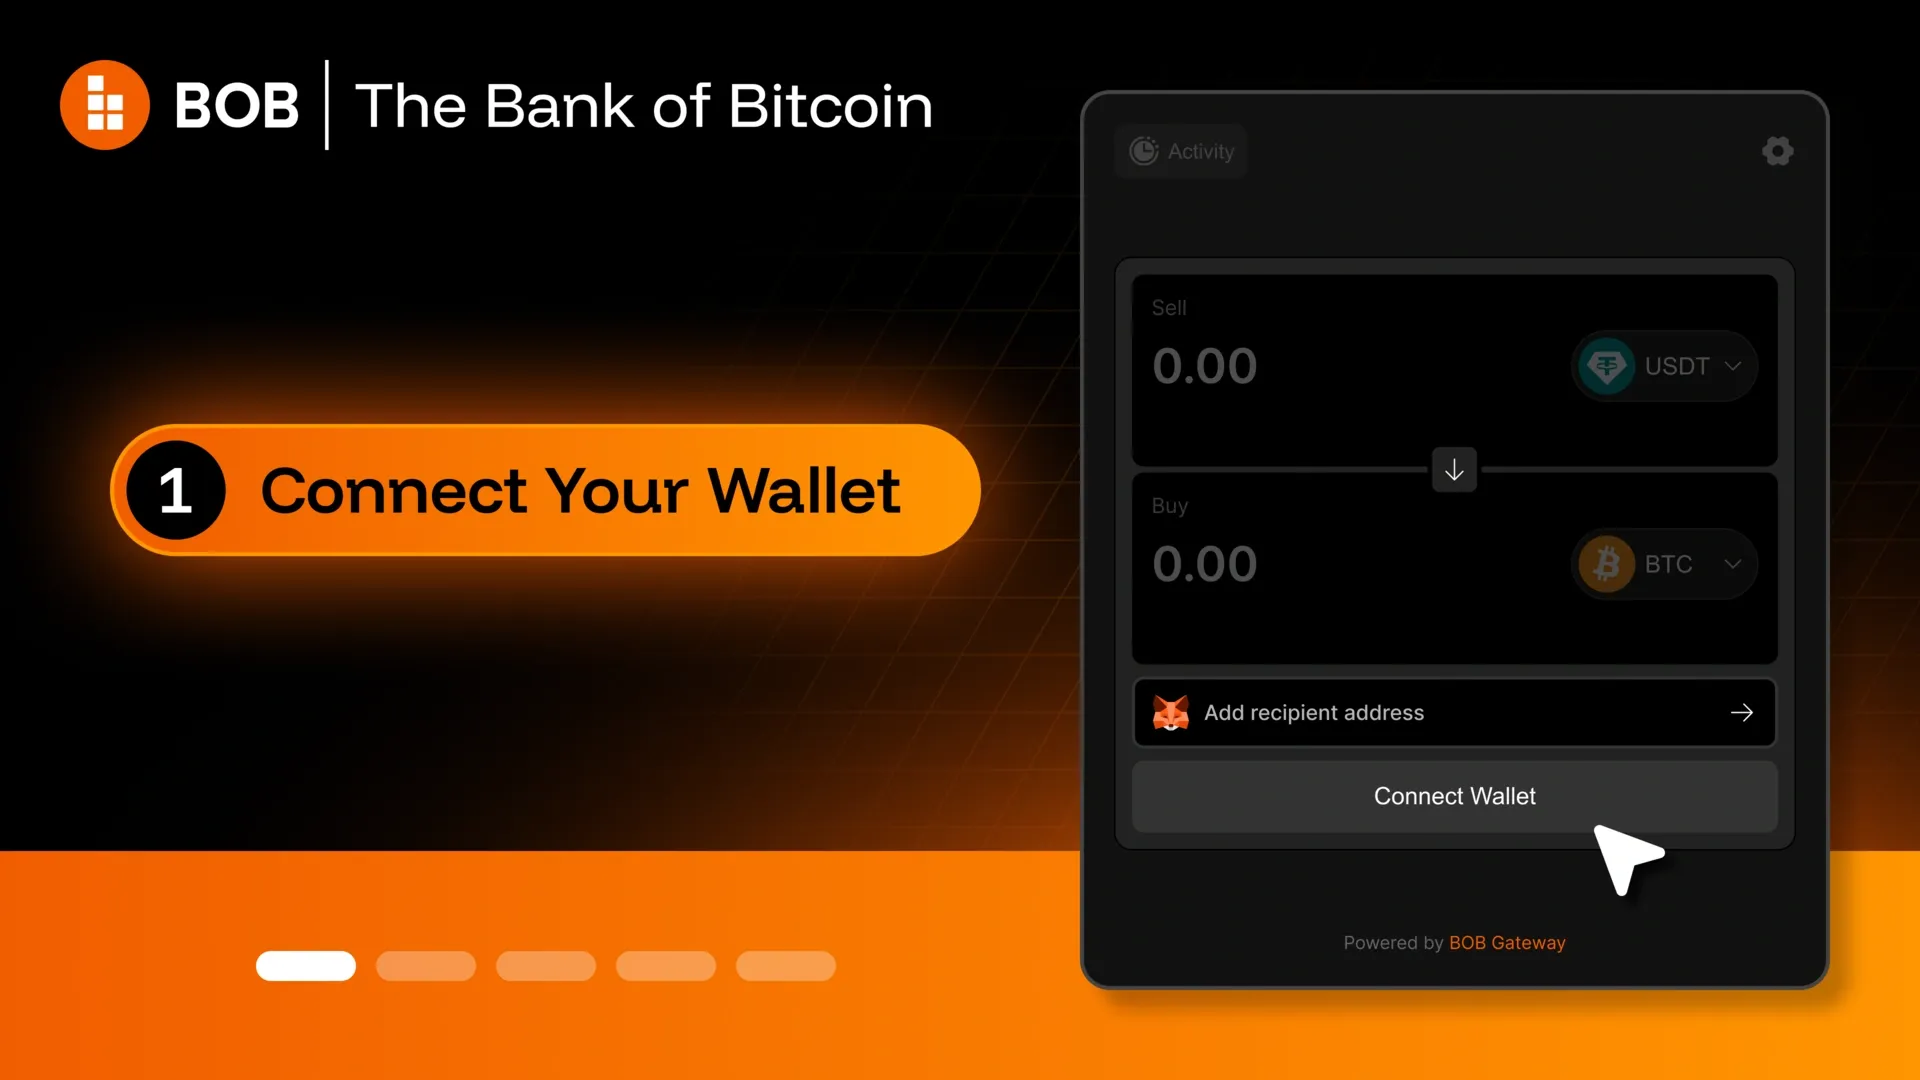
Step 1 - Connect your wallet
Connect your EVM and Bitcoin wallets and you're ready to go. The EVM wallet is where your tokens are delivered, and the address a refund is returned to if an order can't be filled.
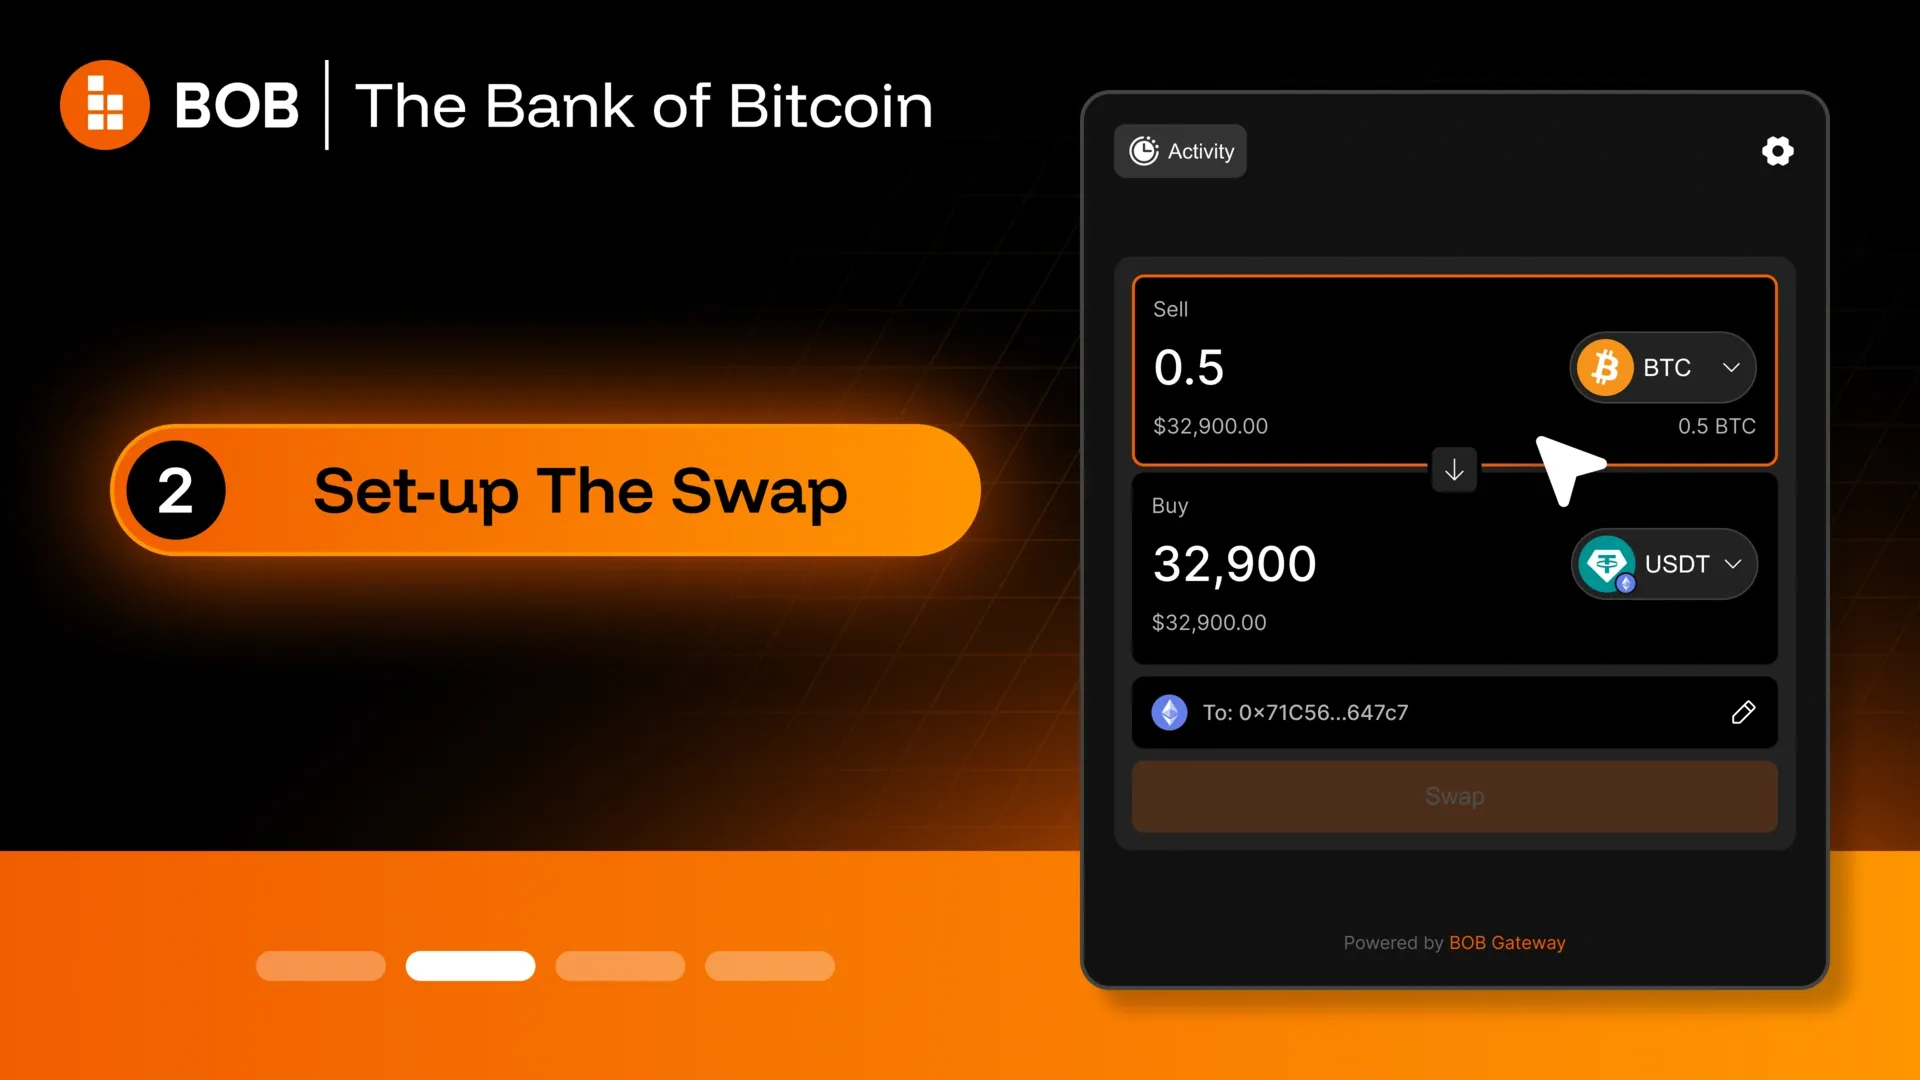
Step 2 - Set up the Swap
Pick the asset and chain you want, then enter the amount of BTC you're spending. Gateway quotes what you'll receive.
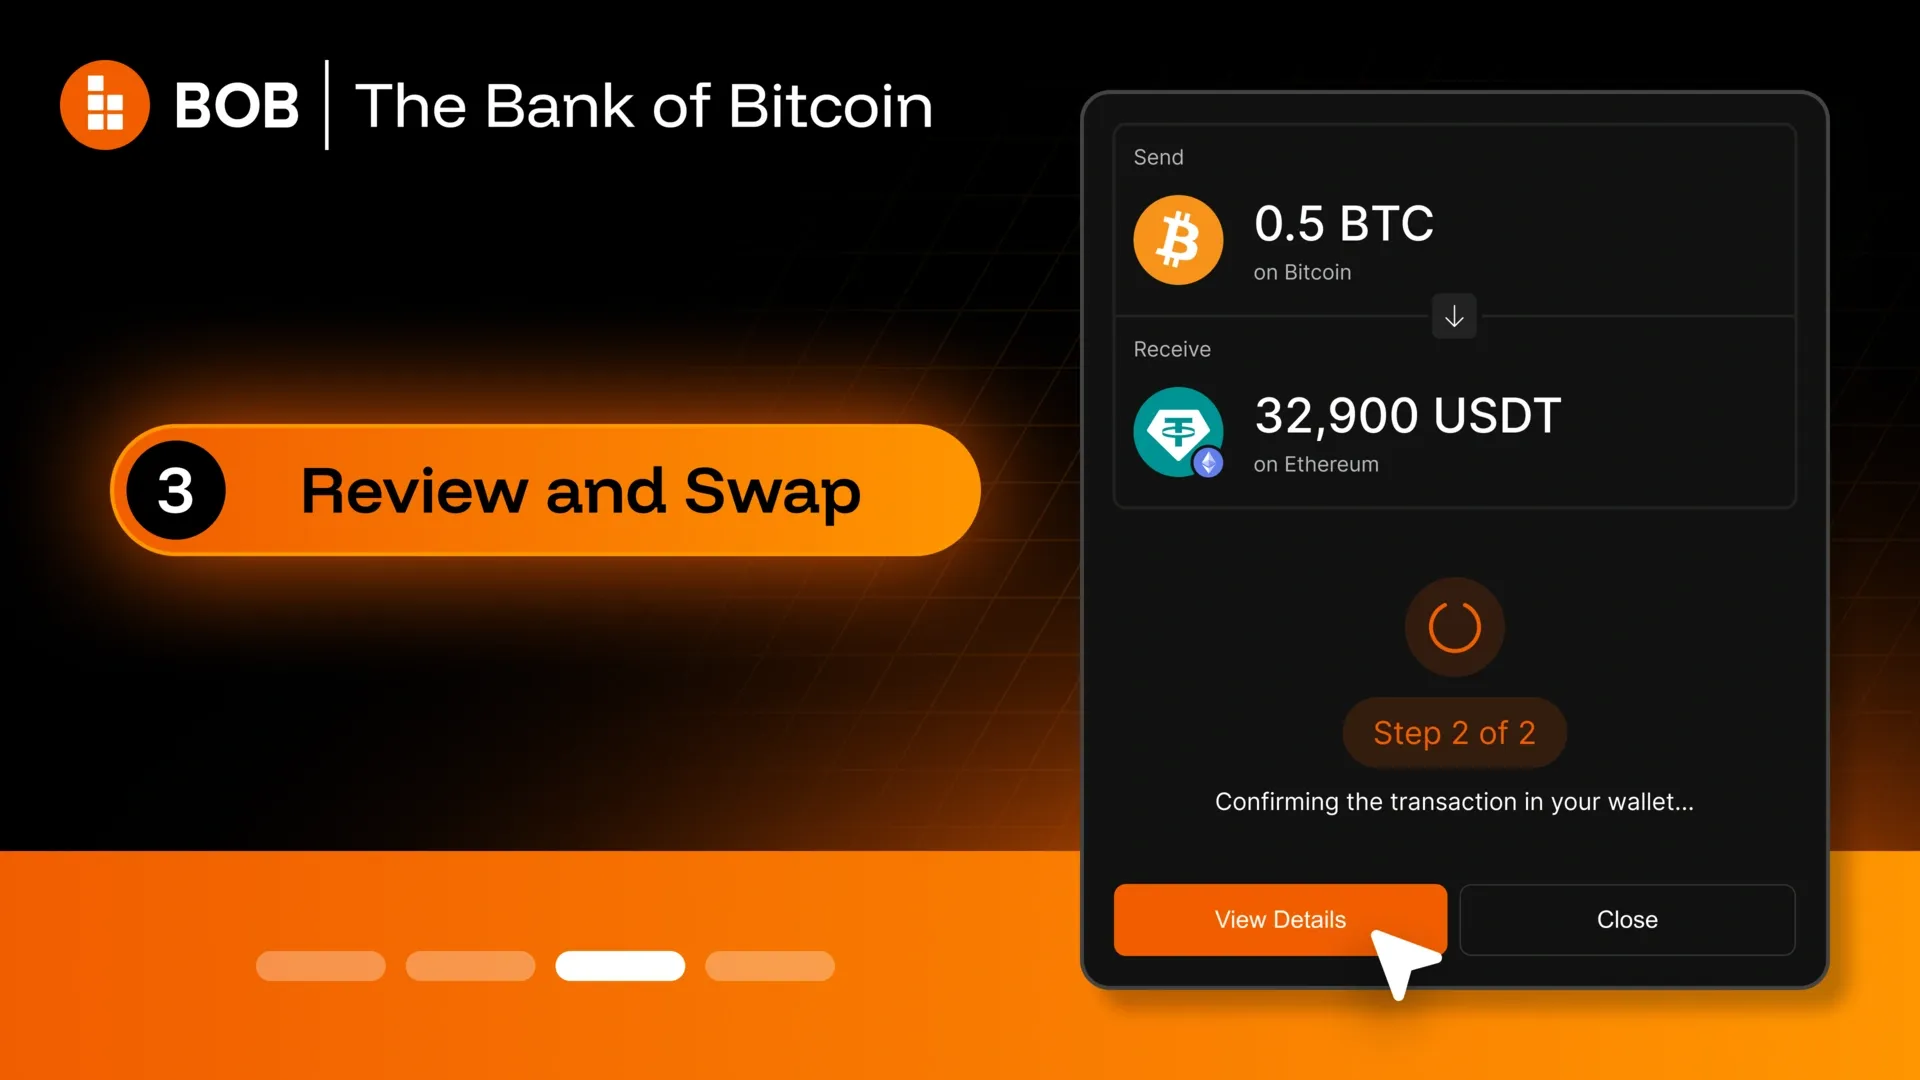
Step 3 - Review and swap
Review the details - output amount, fees, estimated time, and the recipient address filled in from your connected EVM wallet. If it looks right, click Swap.
Your Bitcoin wallet then opens with the payment ready to approve.
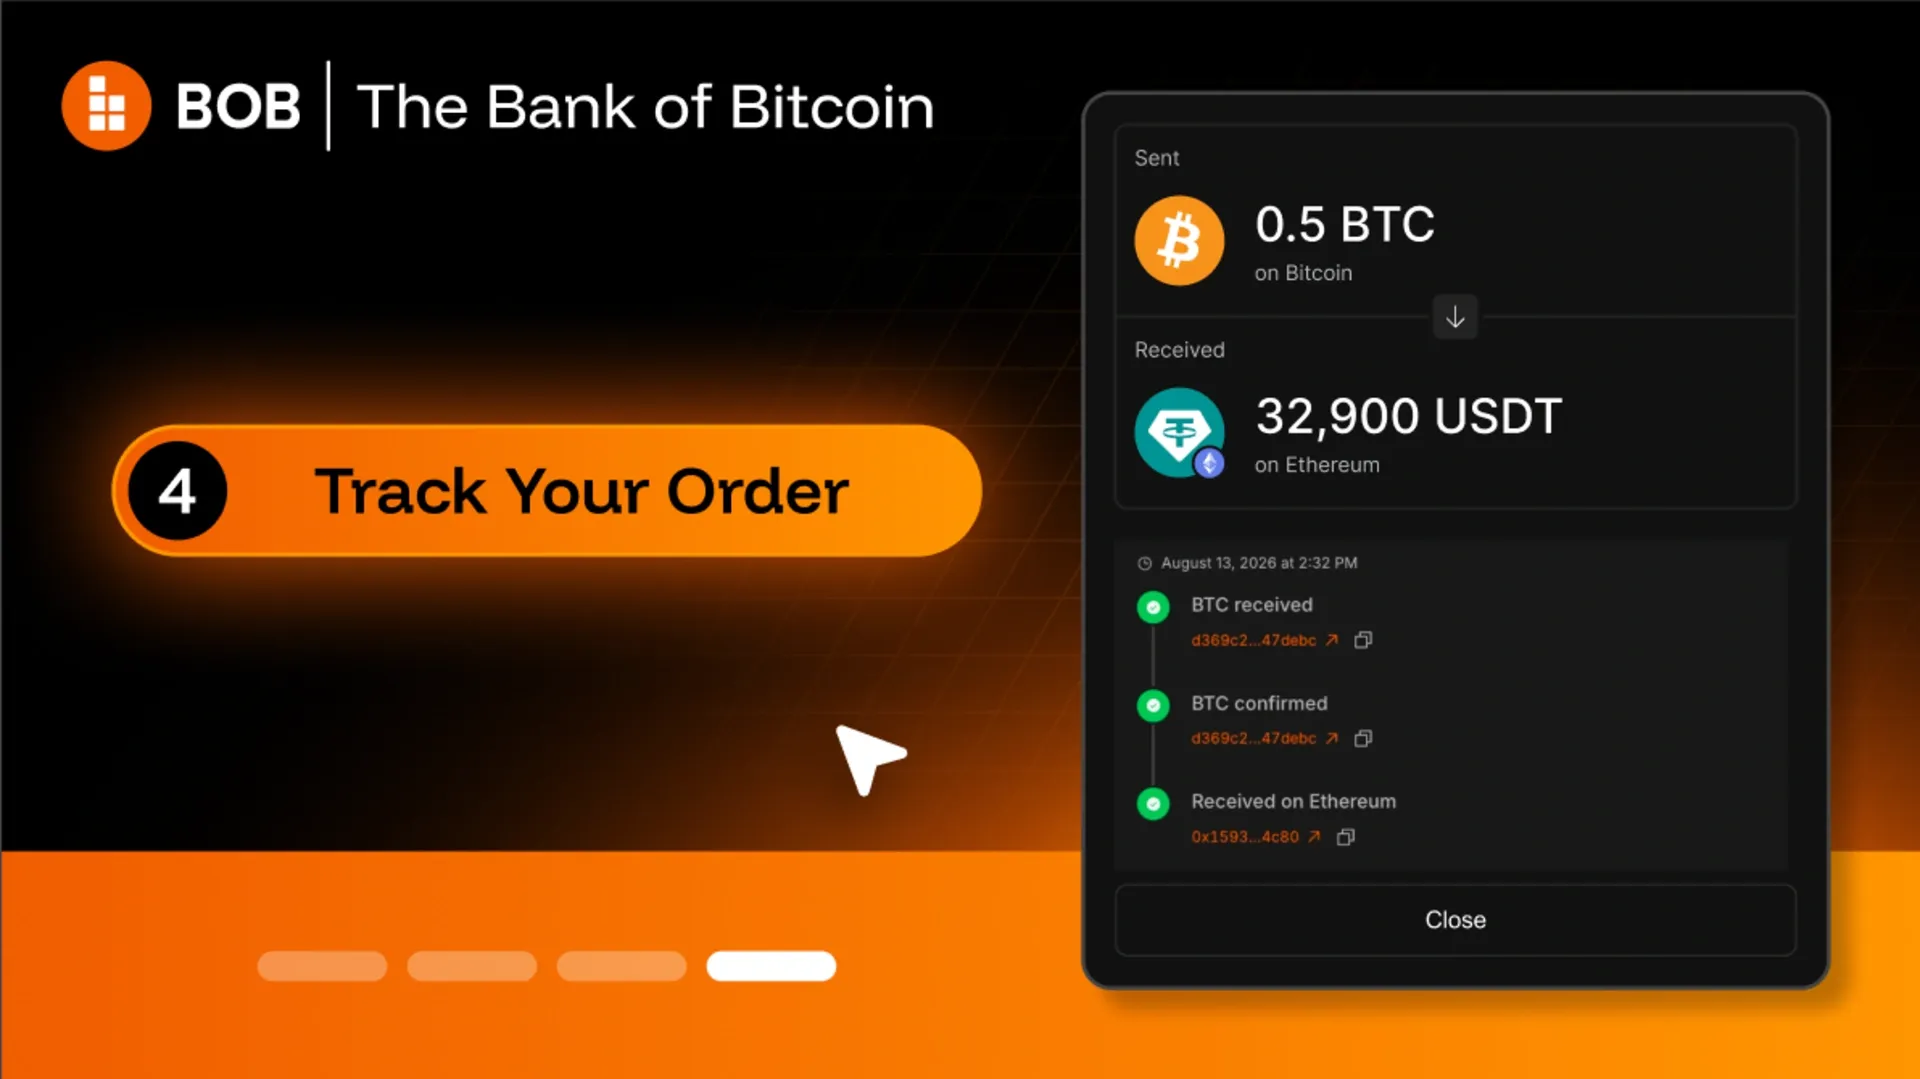
Step 4 - Track your order
Once your transaction is signed and the BTC is sent, the status moves to BTC received, then BTC confirmation while Bitcoin blocks confirm.
Follow along in the wallet modal at the top right, which shows progress and your Order ID. For a more detailed view, look the Order ID up in the Gateway Explorer.
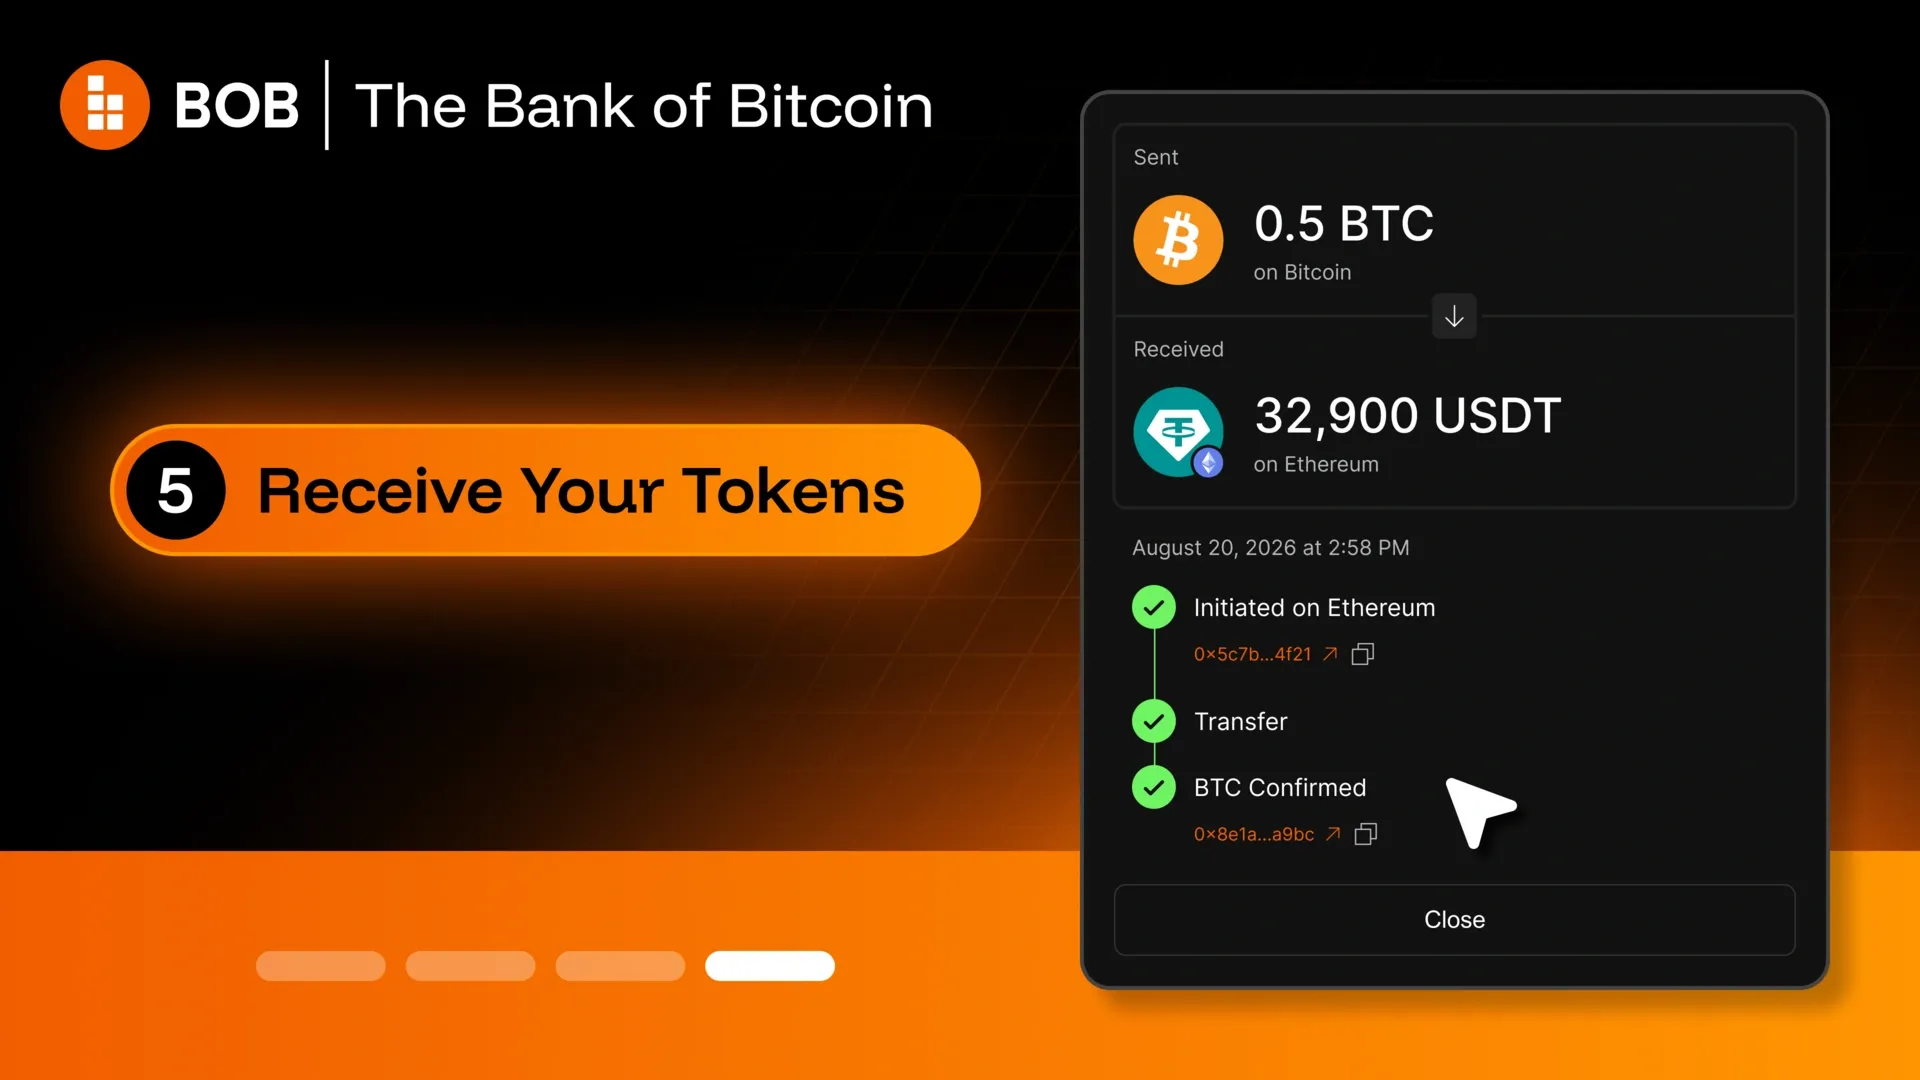
Step 5 - Receive your tokens
Your tokens arrive at your EVM address. Most orders complete in about 10 minutes, but can be faster or slower depending on BTC block times.
2b. Without a Bitcoin wallet connection - QR Swaps
If your BTC is on an exchange, or you'd rather not connect a Bitcoin wallet to a third-party app, you can pay by sending Bitcoin to an address Gateway gives you. Only your EVM wallet needs connecting.
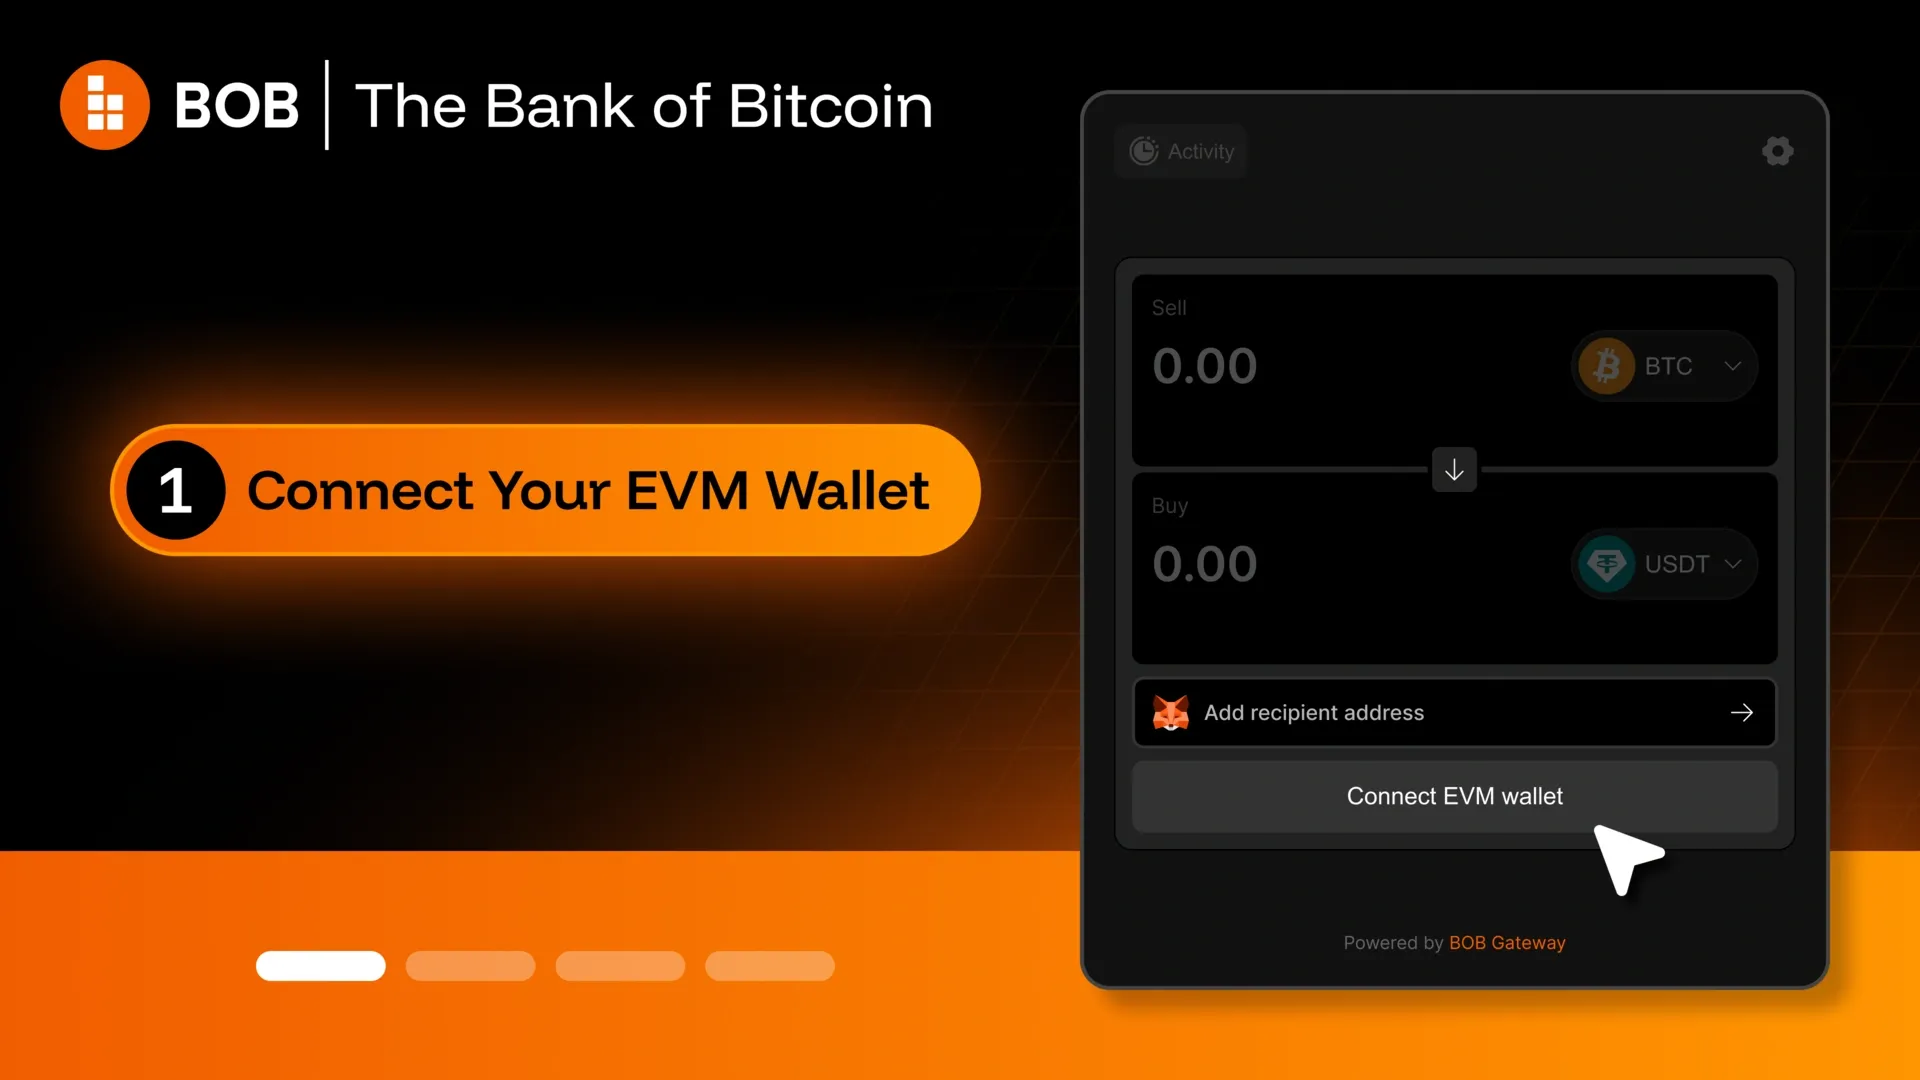
Step 1 - Connect your EVM wallet
Connect the EVM wallet where you want to receive your tokens. It's the delivery address, and the address a refund would be returned to.
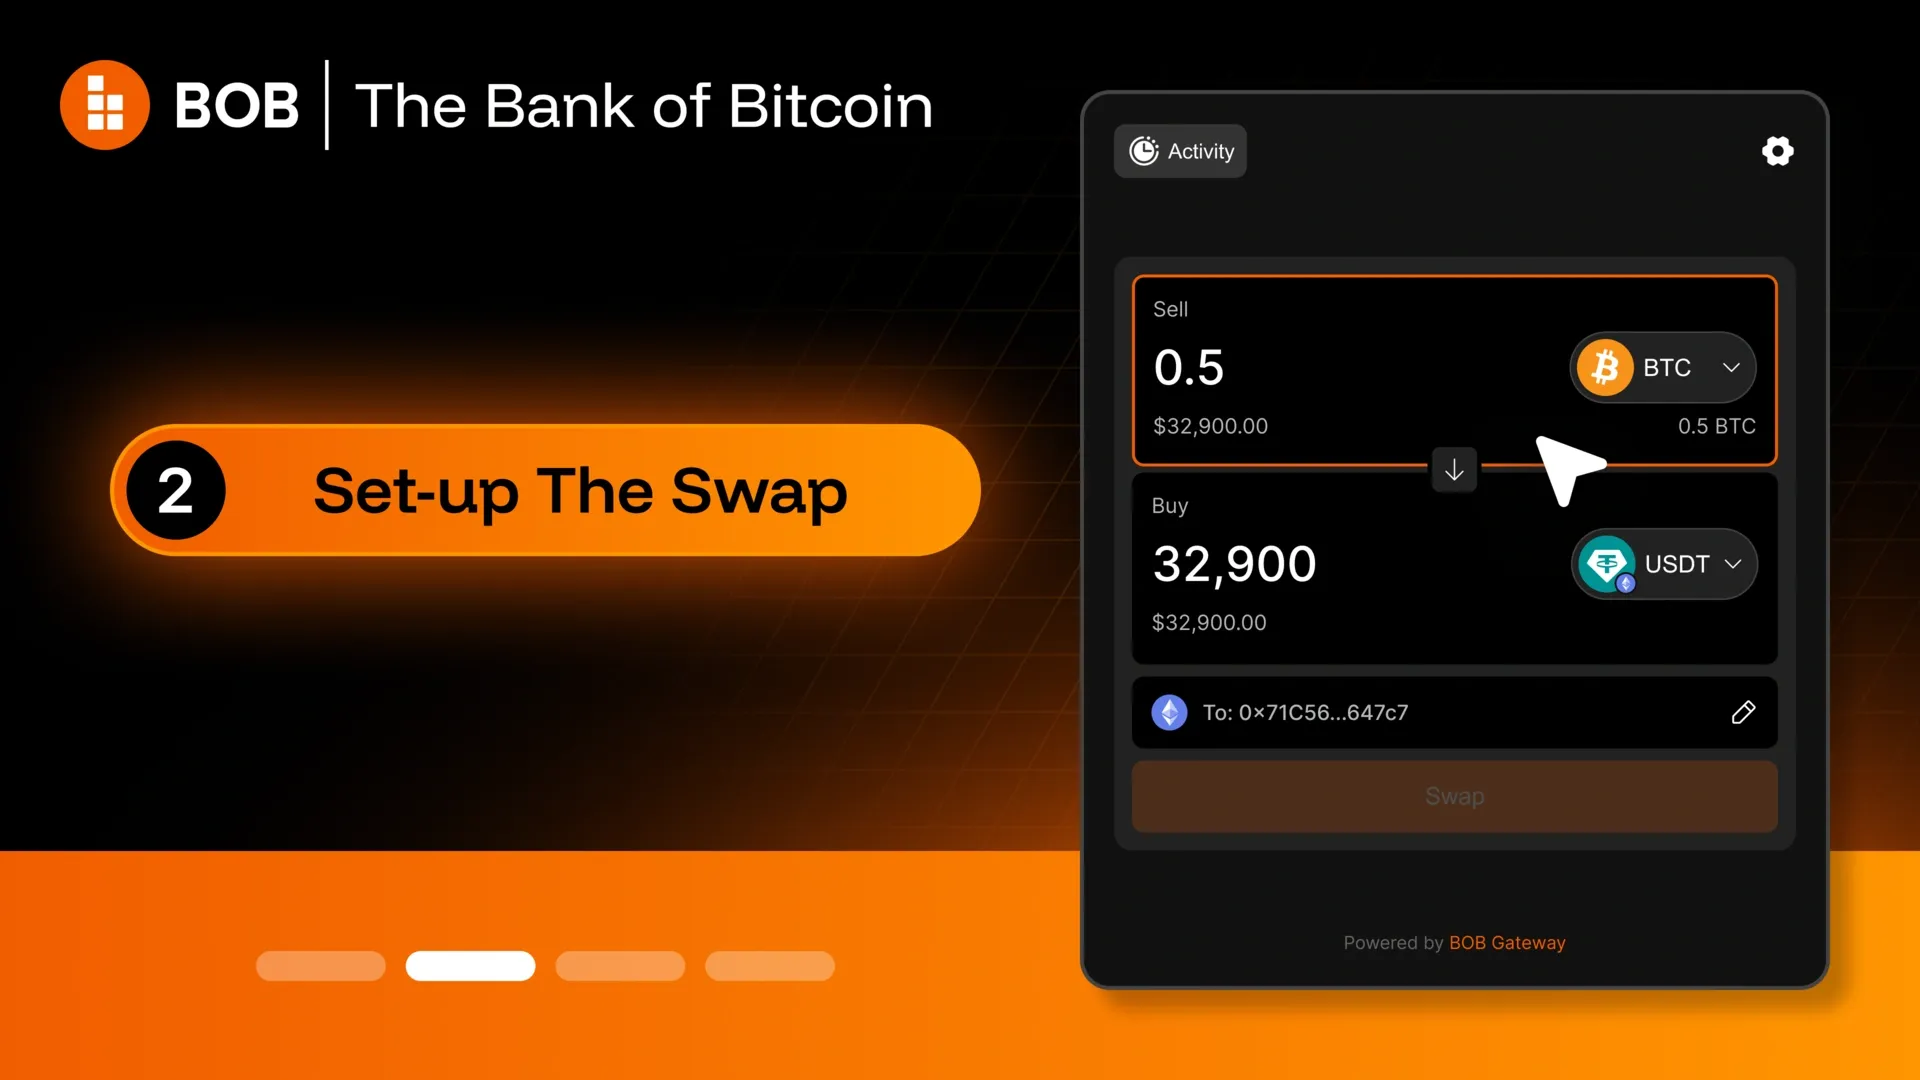
Step 2 - Set up the swap
Choose the asset and chain you want to receive, enter your amount, review the quote.
Step 3 - Review and swap
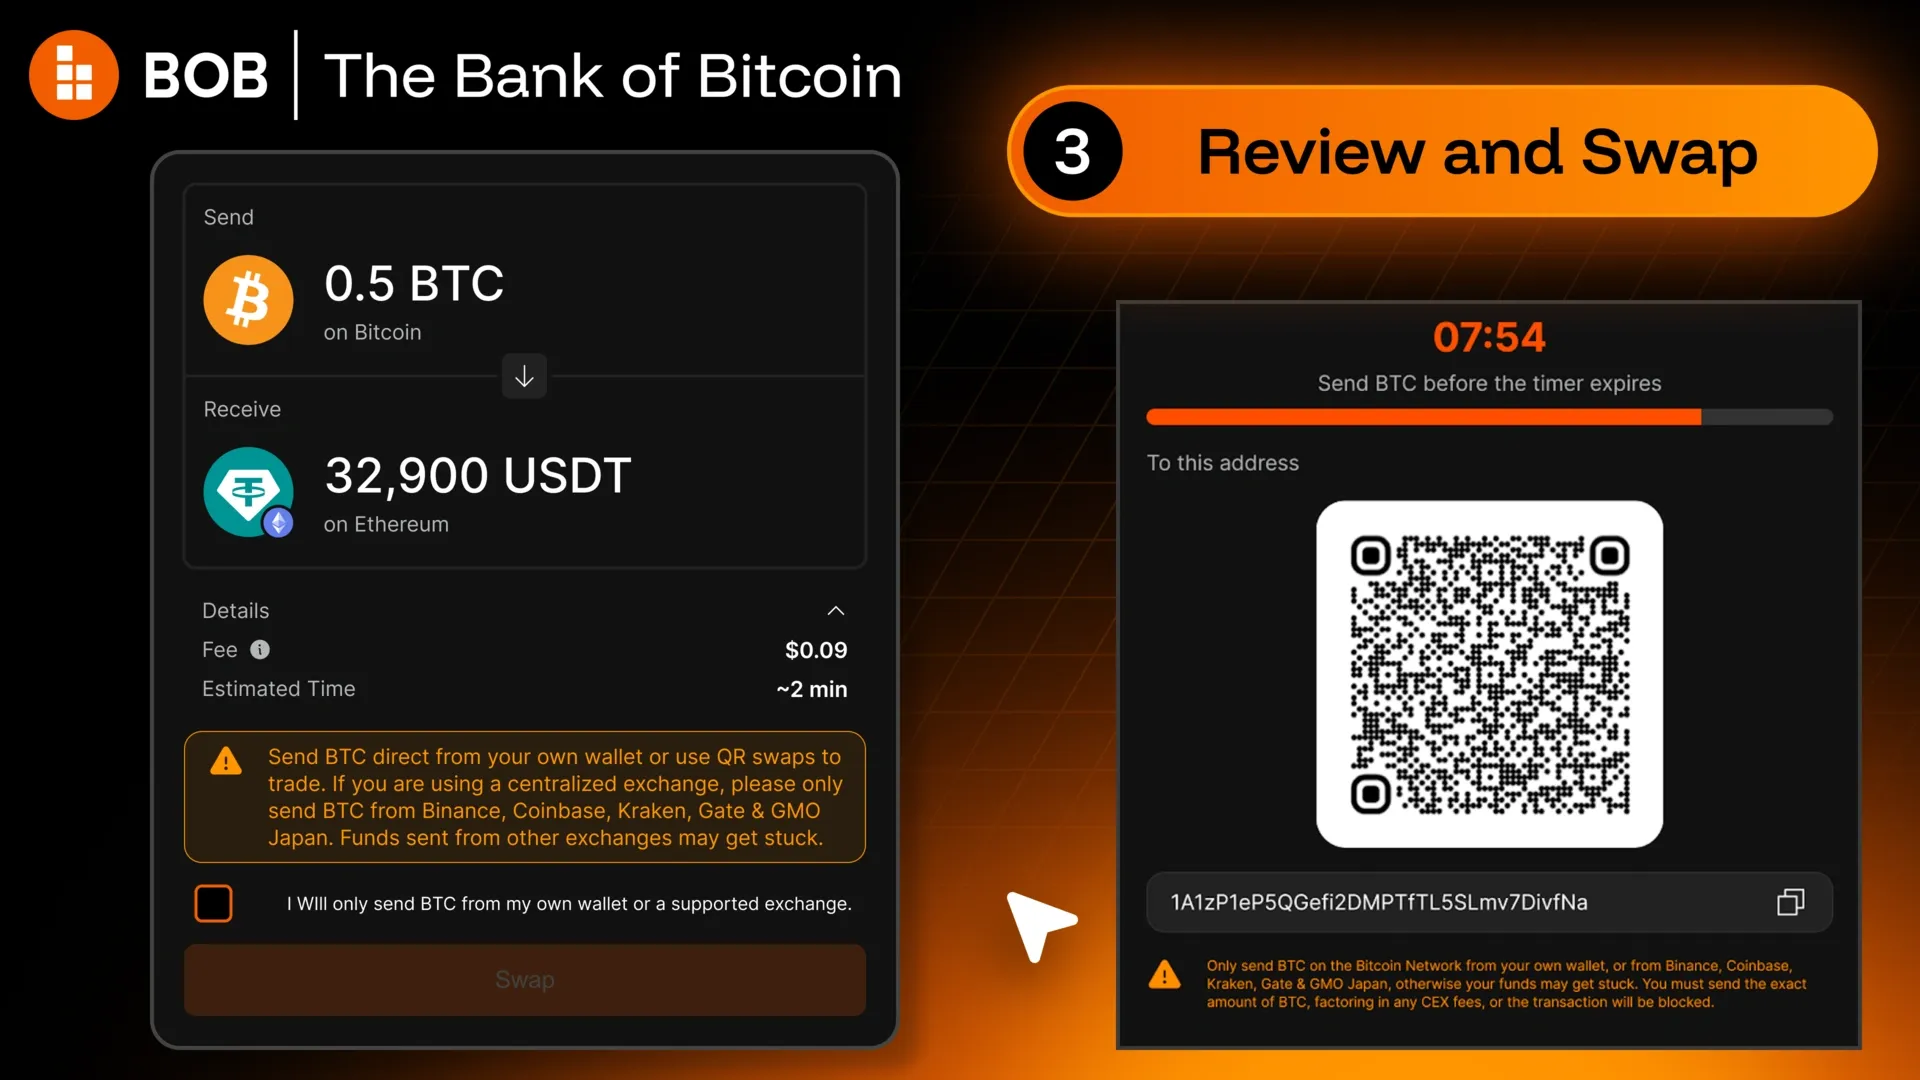
Read the deposit instructions carefully and tick the box.
You'll then see a Bitcoin deposit address where you can send your BTC from any Bitcoin wallet - browser wallets, Ledger, Trezor, or a CEX account (Binance, Coinbase, Kraken, Gate and GMO Japan are all supported).
You’ll notice that a 10-minute timer has started. It is vital that you send the exact amount of BTC before it expires. Copy the address directly to your wallet/account and initiate the withdrawal. The QR code will also populate the destination BTC address if your CEX app or browser wallet has that functionality. Exchanges deduct their withdrawal fee from what you send. Set your withdrawal so the quoted amount lands, not the amount you type.
Step 4 - Track your order
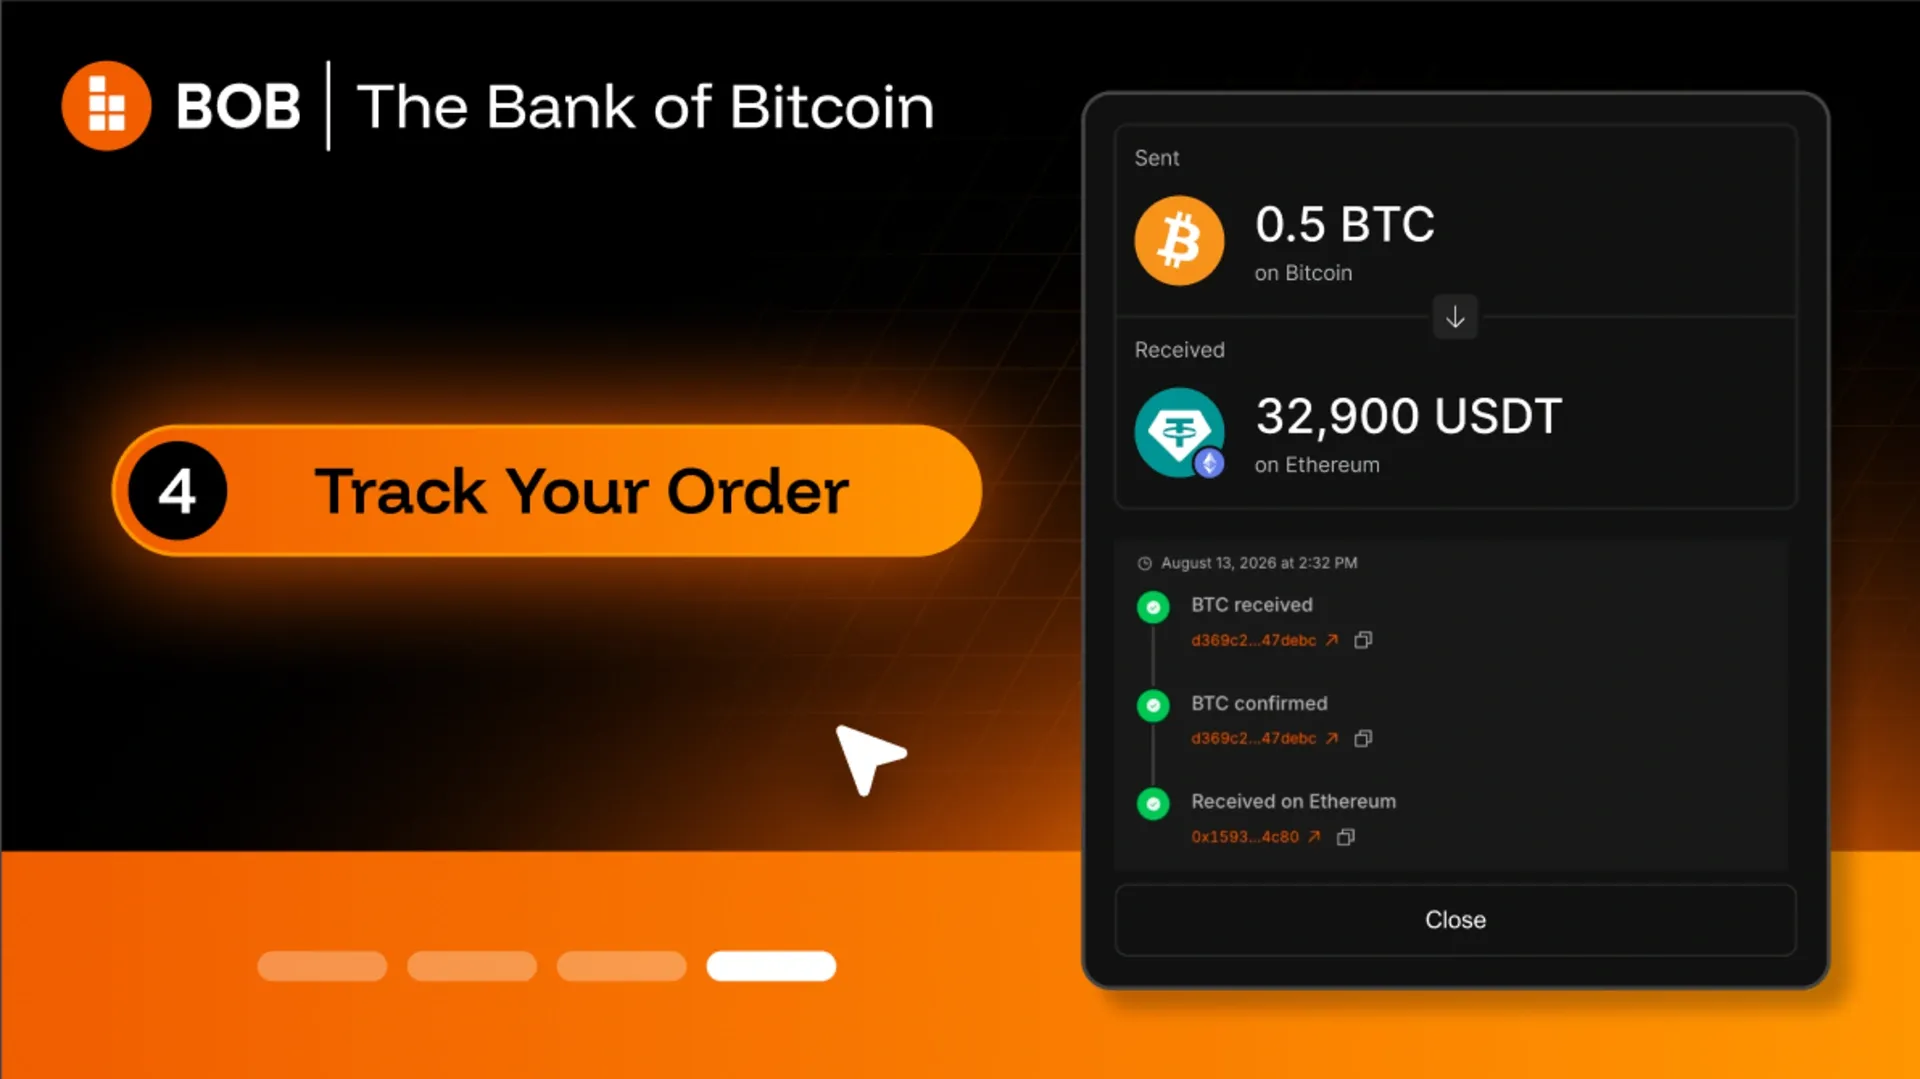
Once your payment is sent, the status moves to BTC received, then BTC confirmation while Bitcoin blocks confirm.
Follow along in the wallet modal at the top right, which shows progress and your Order ID. For a more detailed view, look the Order ID up in the Gateway Explorer.
Step 5 - Receive your tokens
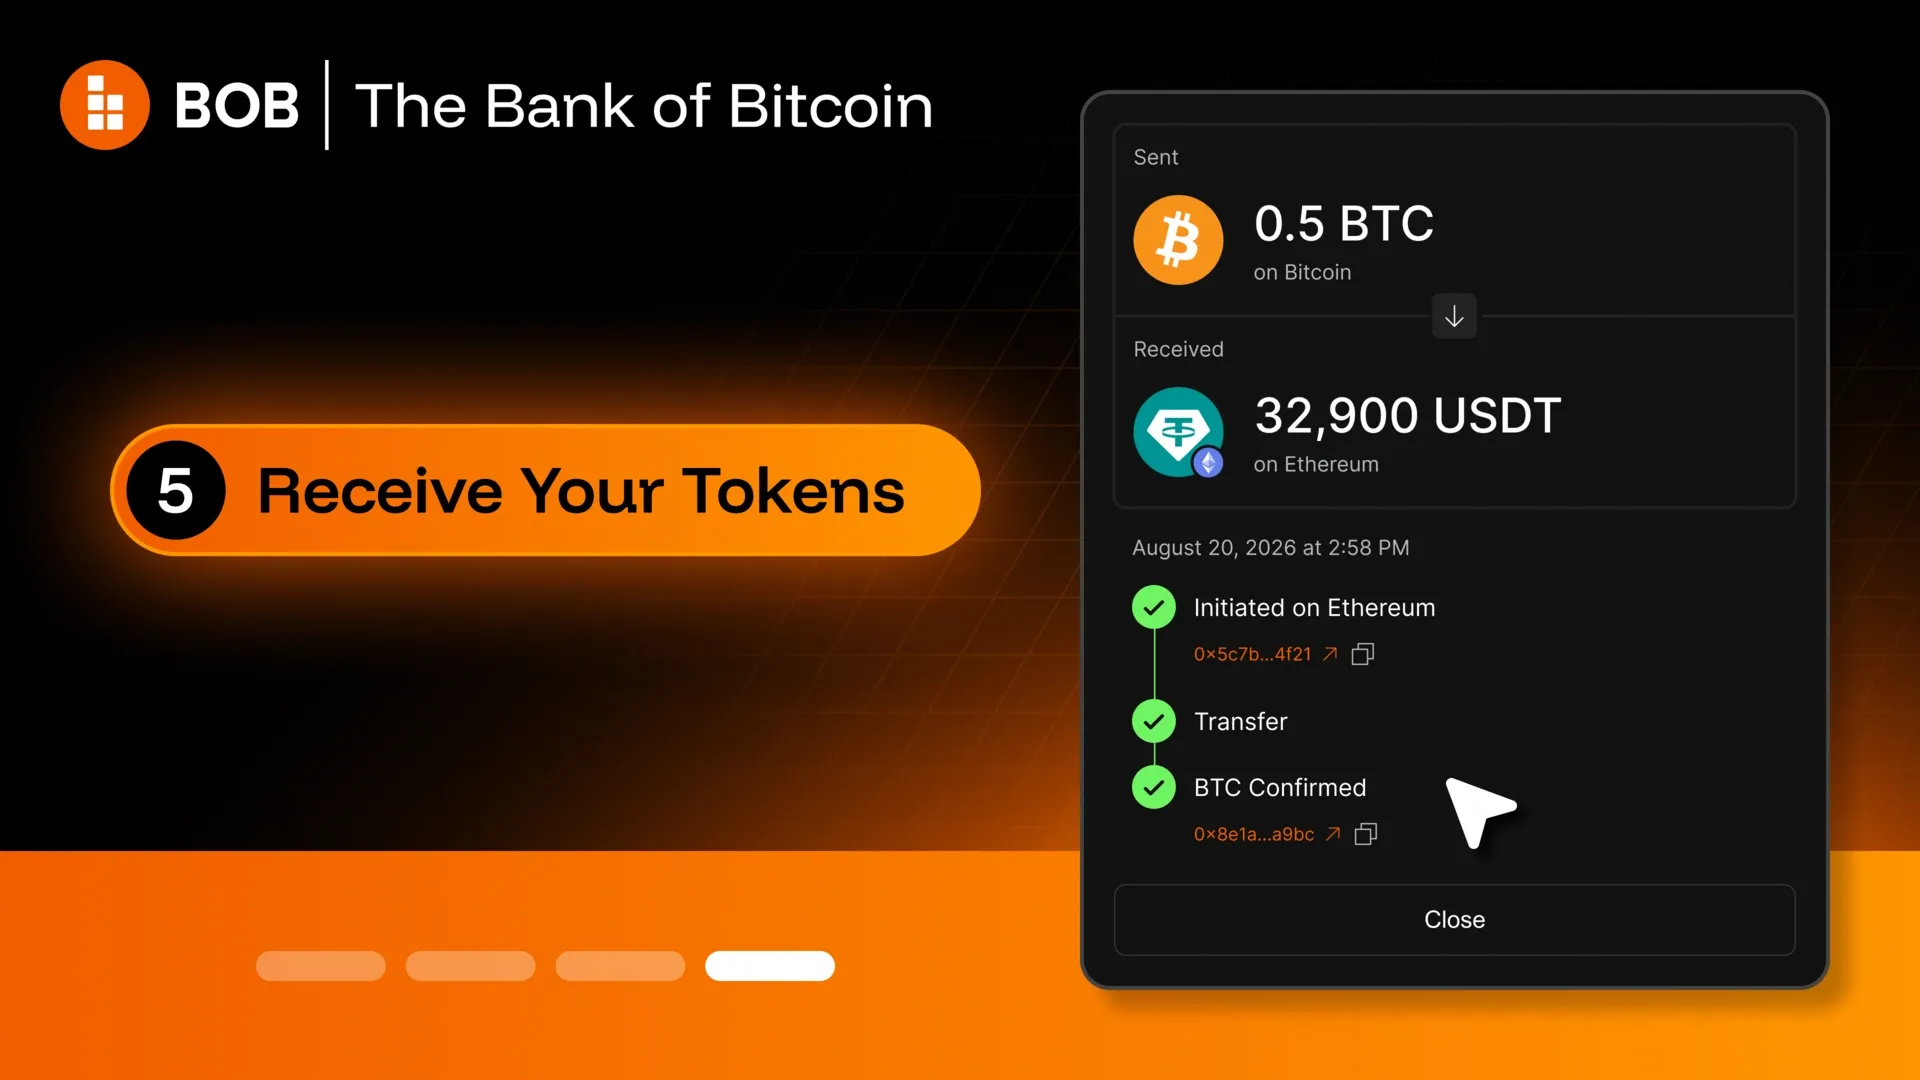
Your tokens arrive at your EVM address. Most orders complete in about 10 minutes, but can be faster or slower depending on BTC block times.
3. EVM ↔ EVM swaps
BOB Gateway also supports several EVM ↔ EVM swap routes between assets including USDC, USDT, ETH, BNB and XAUt0.
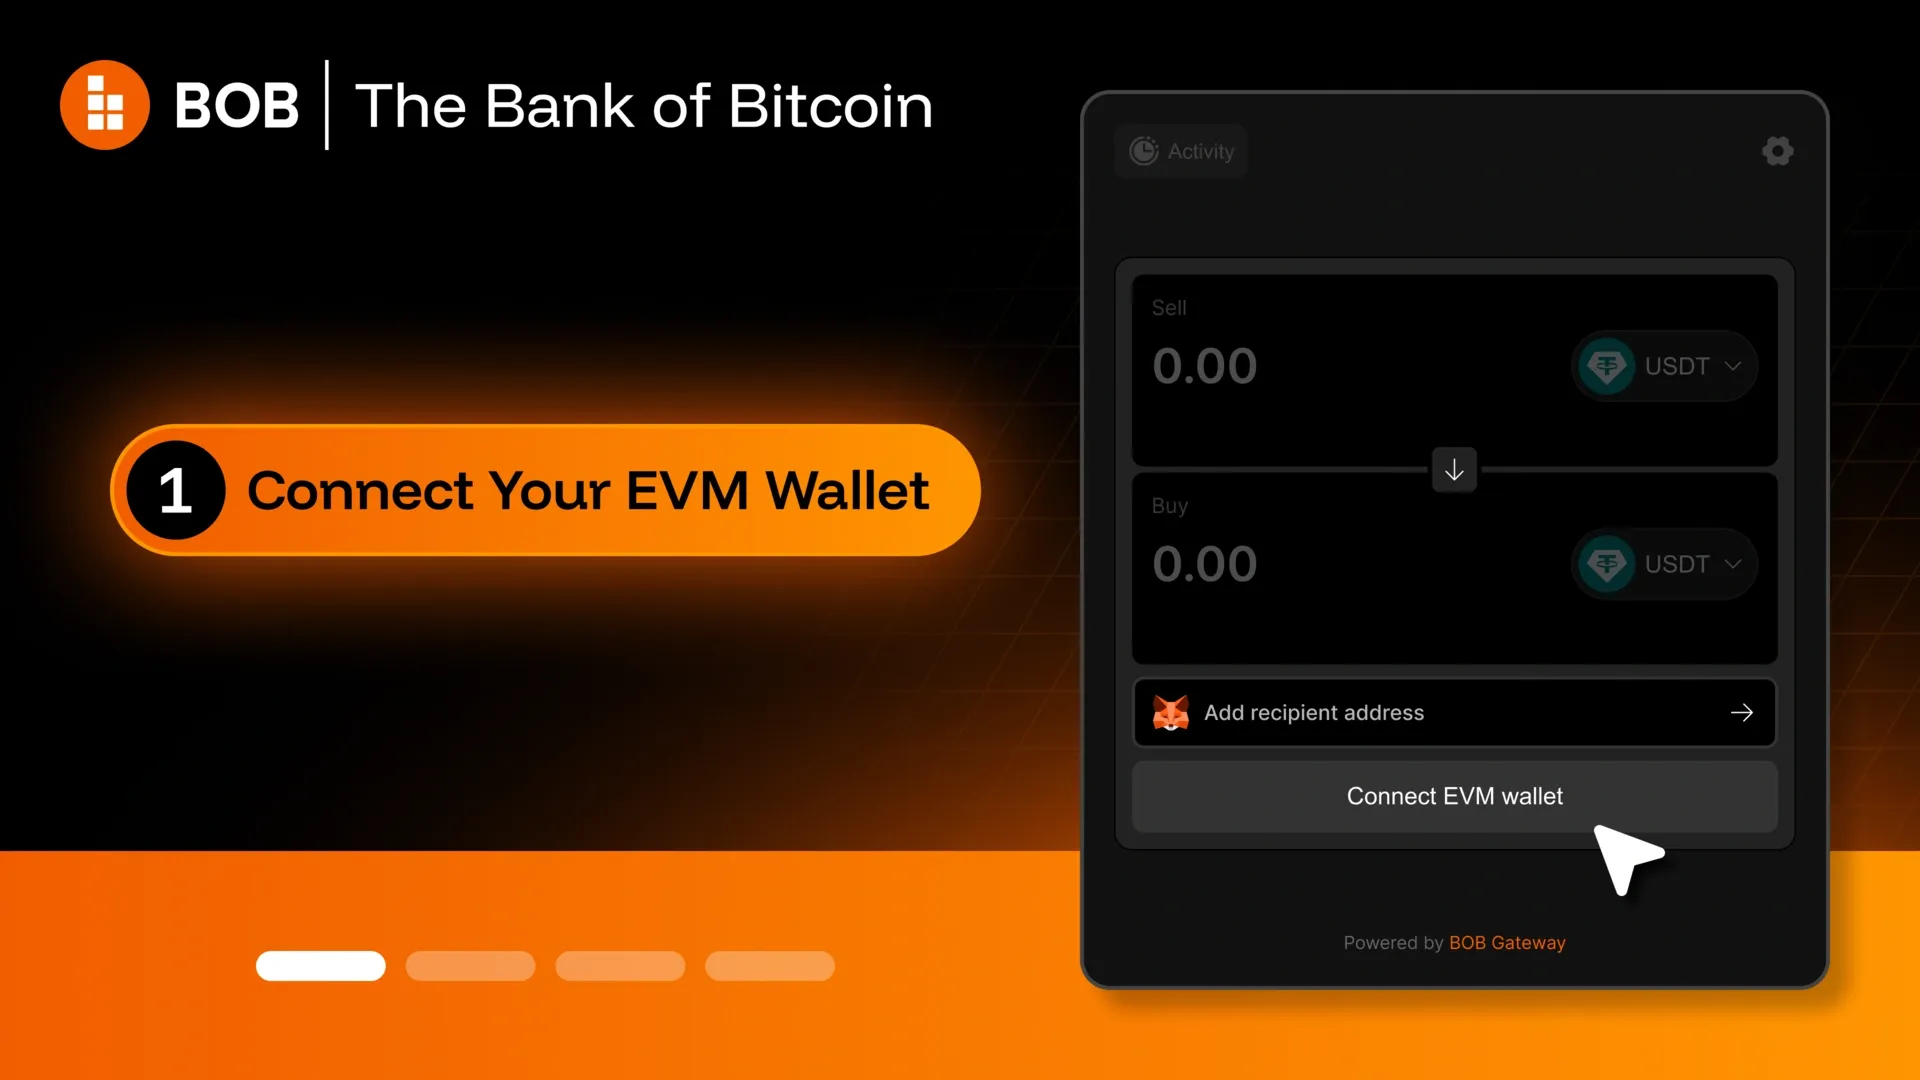
Step 1 - Connect your EVM wallet
Connect any of 500+ supported EVM wallets.
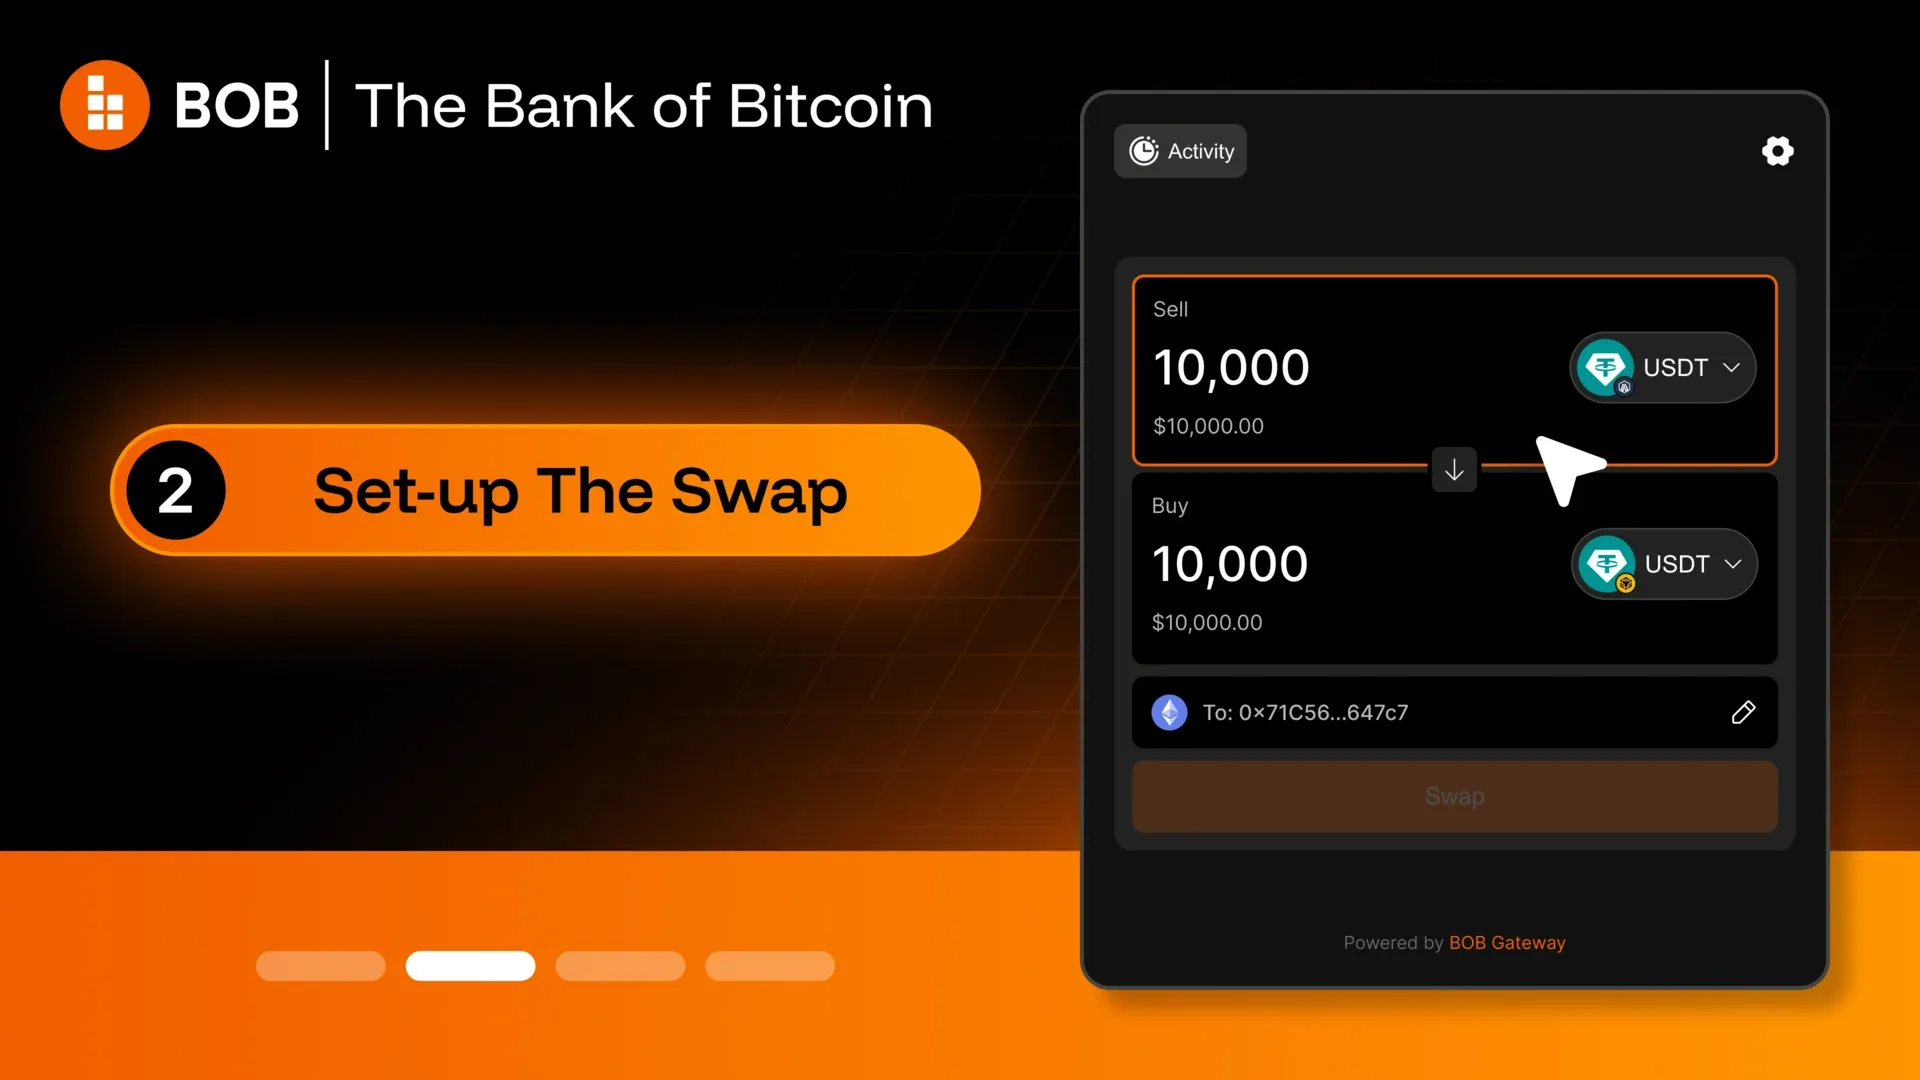
Step 2 - Set up the swap
Choose the asset and chain you want to receive, enter your amount, review the quote, and click Swap. Then sign the approval and the swap transaction [two separate signatures] in your wallet.
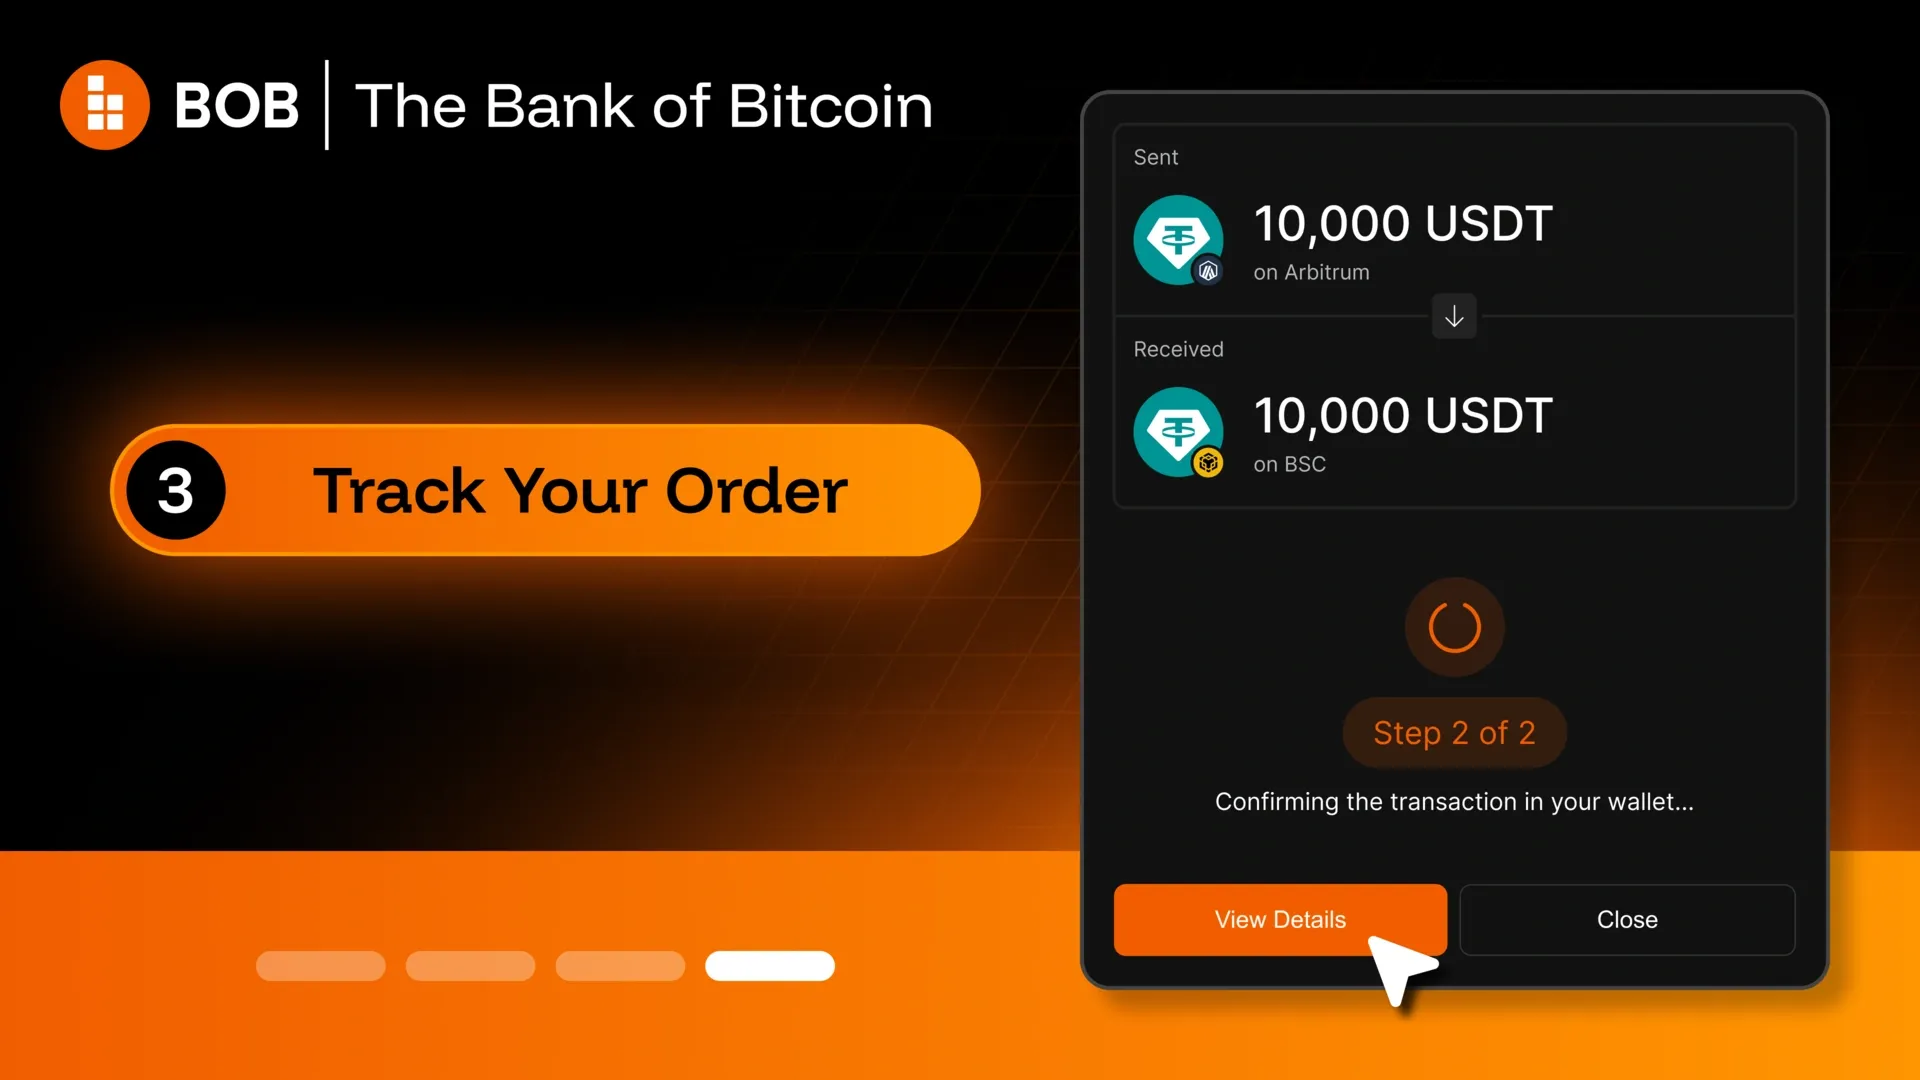
Step 3 - Track your order
Once your payment is sent, you can follow along in the wallet modal at the top right, which shows progress and your Order ID. For a more detailed view, look the Order ID up in the Gateway Explorer.
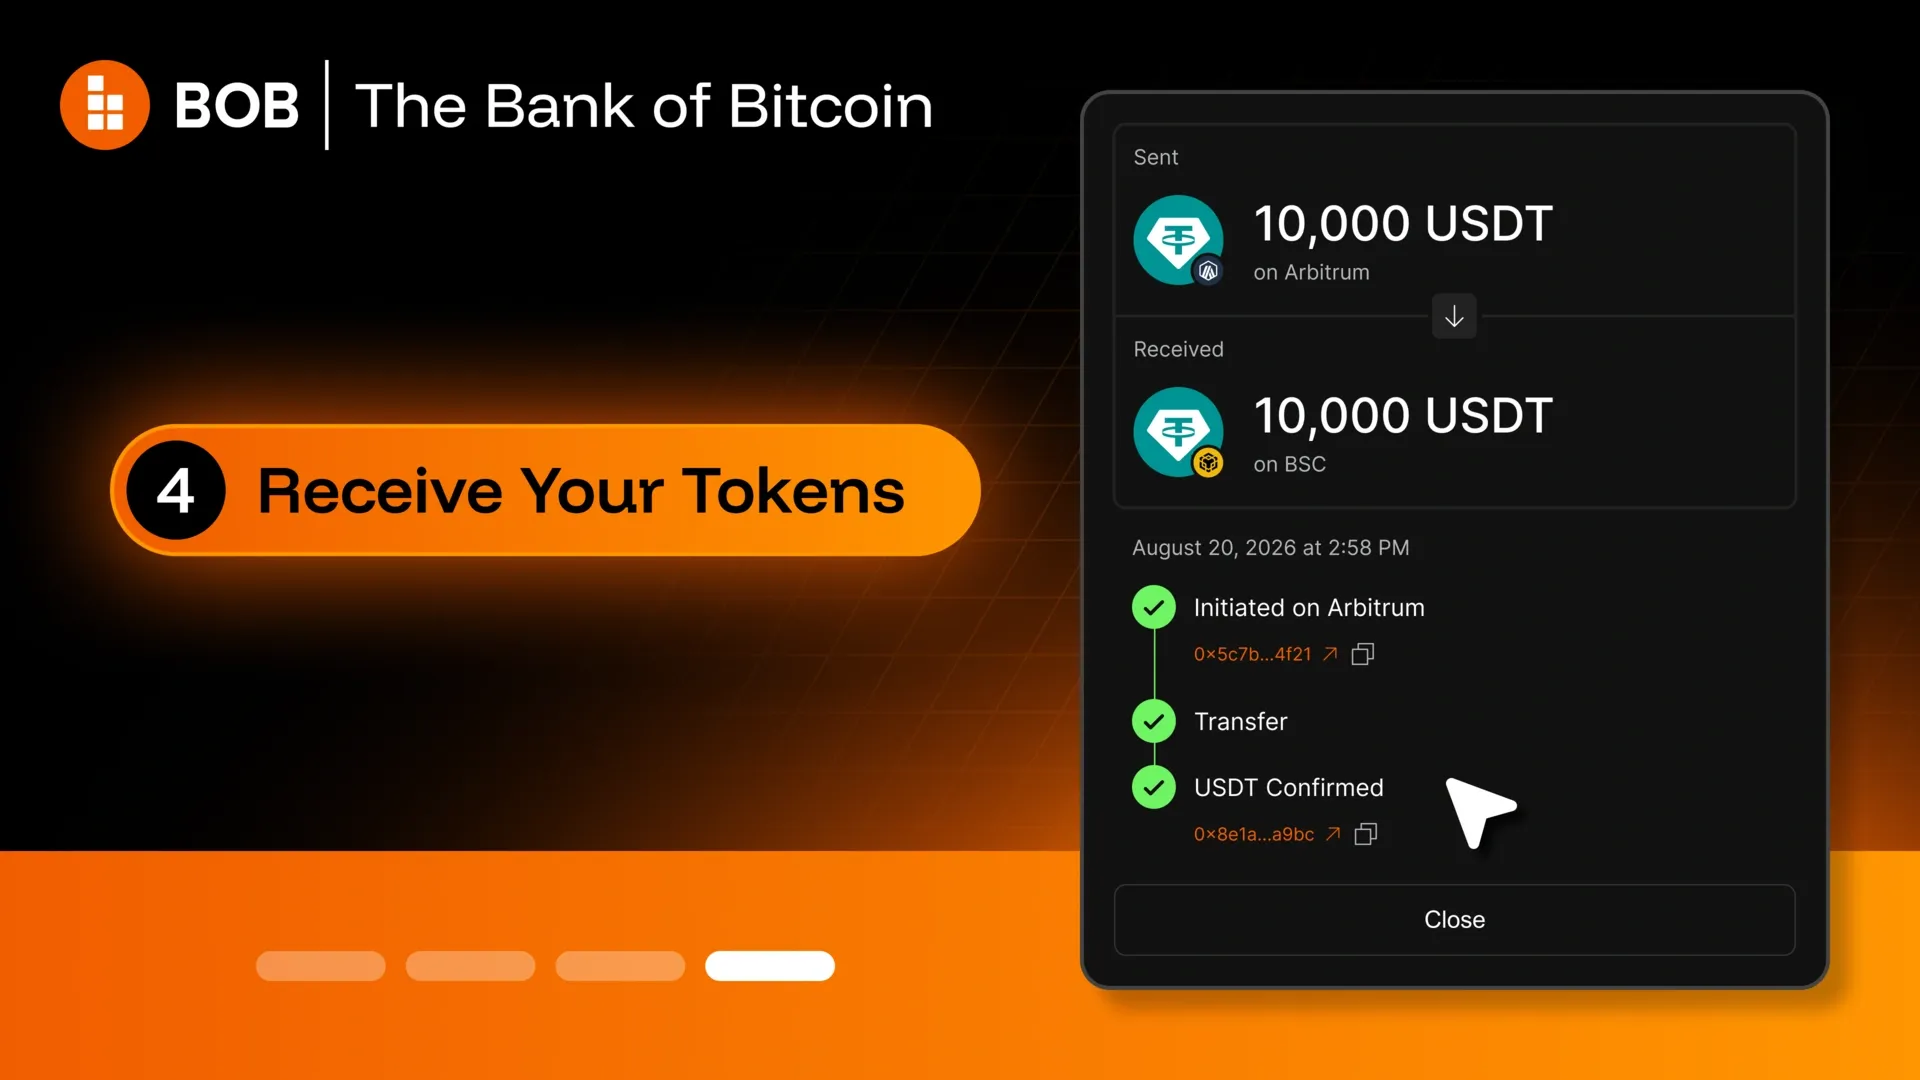
Step 4 - Receive your tokens
Your tokens arrive at your EVM address. Most EVM ↔ EVM orders complete within a couple of minutes but can sometimes be delayed due to destination network congestion.
Need help with an order?
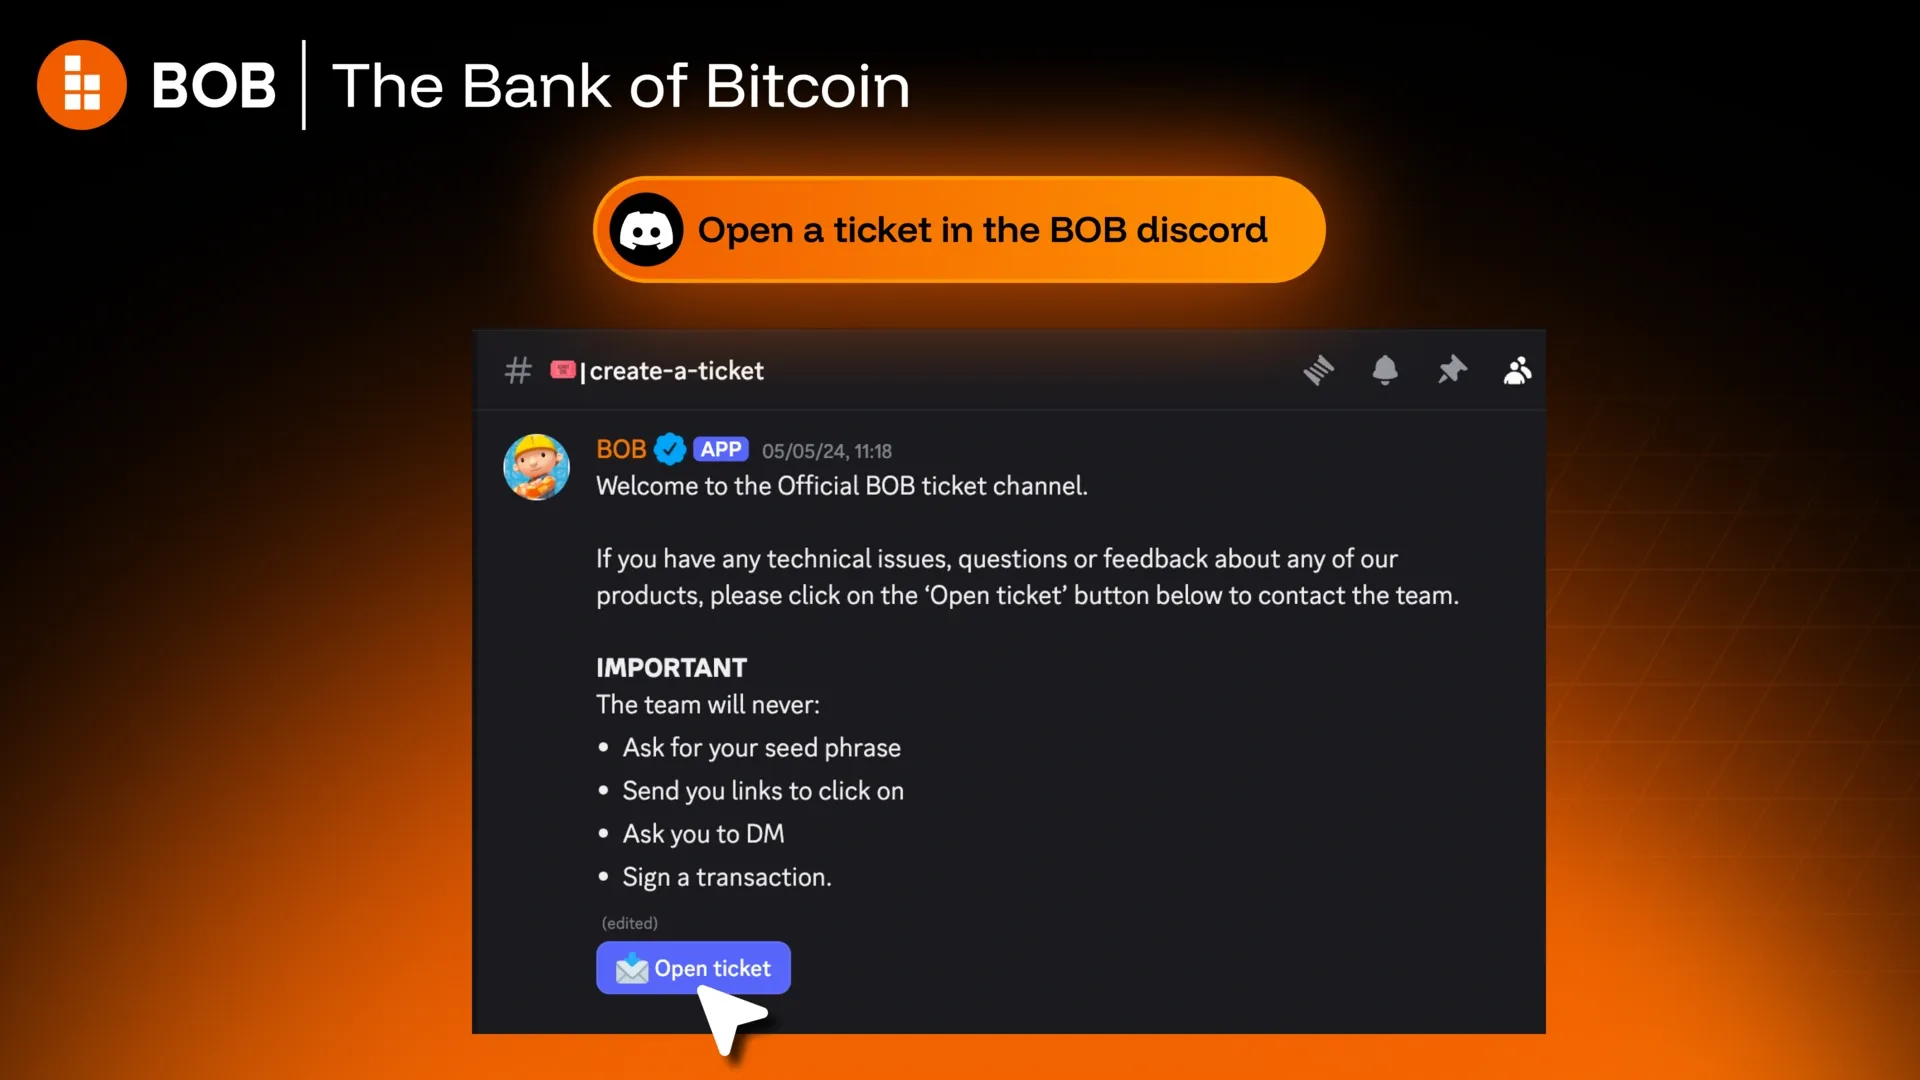
Join the BOB Discord and open a ticket. Our support team (look for the blue verified tick) will take it from there. Never share your seed phrase or private keys. BOB support will never ask for them. Have your Order ID ready - it's the fastest way for support to find your order.
Swapping at size?
The BOB Inner Circle is our white-glove programme for Bitcoin's most active swappers: a direct line to the BOB team, additional support and help, plus early access to new routes. Places are strictly limited.
Apply at vip.gobob.xyz.